
JBoss Tools and Red Hat Developer Studio for Eclipse Oxygen.1a
JBoss Tools 4.5.1 and Red Hat JBoss Developer Studio 11.1 for Eclipse Oxygen.1a are here waiting for you. Check it out!
Installation
JBoss Developer Studio comes with everything pre-bundled in its installer. Simply download it from our JBoss Products page and run it like this:
java -jar jboss-devstudio-<installername>.jar
JBoss Tools or Bring-Your-Own-Eclipse (BYOE) JBoss Developer Studio require a bit more:
This release requires at least Eclipse 4.7 (Oxygen) but we recommend using the latest Eclipse 4.7.1a Oxygen JEE Bundle since then you get most of the dependencies preinstalled.
Once you have installed Eclipse, you can either find us on the Eclipse Marketplace under "JBoss Tools" or "Red Hat JBoss Developer Studio".
For JBoss Tools, you can also use our update site directly.
http://download.jboss.org/jbosstools/oxygen/stable/updates/
What is new?
Our main focus for this release was on adoption of Java9, improvements for container based development and bug fixing. Eclipse Oxygen itself has a lot of new cool stuff but let me highlight just a few updates in both Eclipse Oxygen and JBoss Tools plugins that I think are worth mentioning.
OpenShift 3
CDK 3.2 Server Adapter
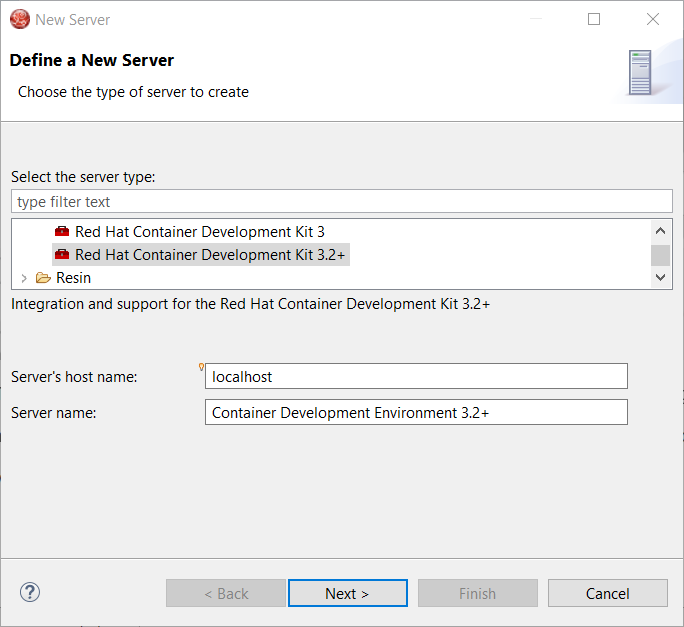
A new server adapter has been added to support the next generation of CDK 3.2. While the server adapter itself has limited functionality, it is able to start and stop the CDK virtual machine via its minishift binary. Simply hit Ctrl+3 (Cmd+3 on OSX) and type CDK, that will bring up a command to setup and/or launch the CDK server adapter. You should see the old CDK 2 server adapter along with the new CDK 3 one (labeled Red Hat Container Development Kit 3.2+ ).
All you have to do is set the credentials for your Red Hat account, the location of the CDK’s minishift binary file, the type of virtualization hypervisor and an optional CDK profile name.

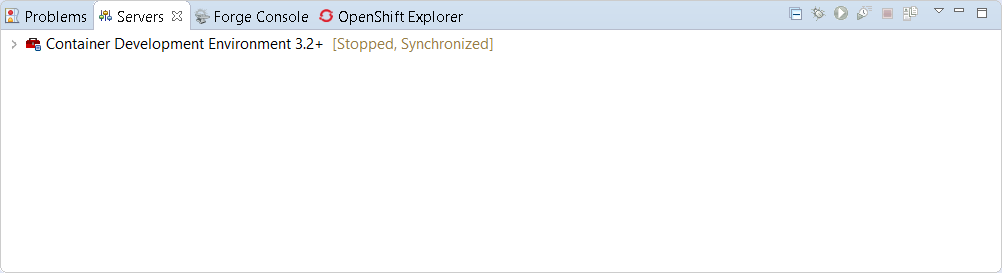
Once you’re finished, a new CDK Server adapter will then be created and visible in the Servers view.
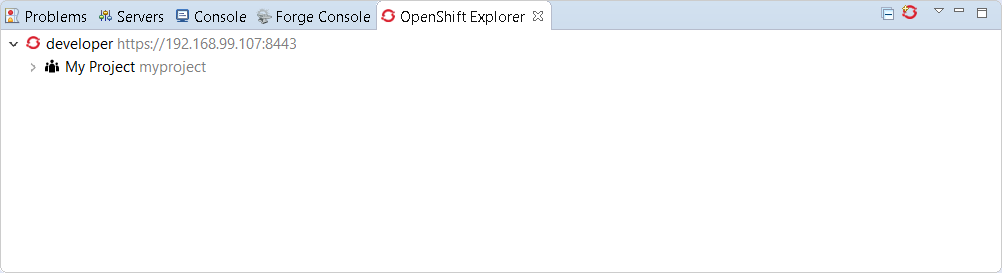
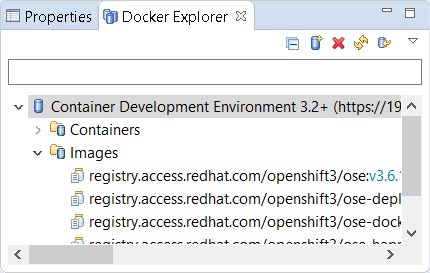
Once the server is started, Docker and OpenShift connections should appear in their respective views, allowing the user to quickly create a new Openshift application and begin developing their AwesomeApp in a highly-replicatable environment.
New command to tune resource limits
A new command has been added to tune resource limits (CPU, memory) on an OpenShift deployment. It’s available for a Service, a DeploymentConfig, a ReplicationController or a Pod.
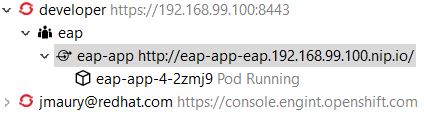
To activate it, go the the OpenShift explorer, select the OpenShift resource, right click and select Edit resource limits.
The following dialog will show up:
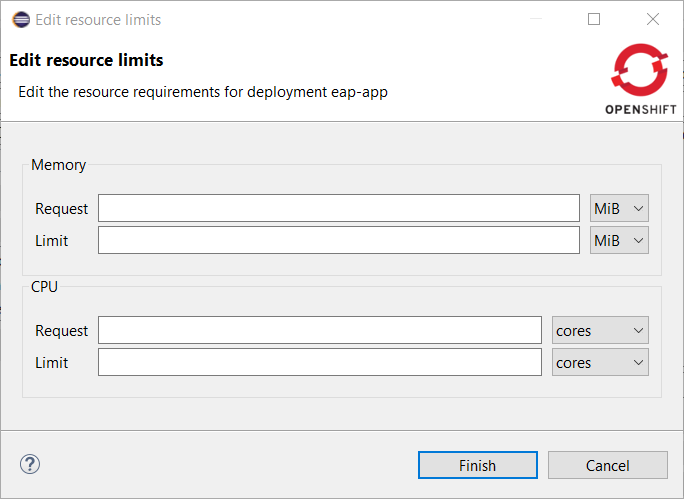
After you changed the resource limits for this deployment, it will be updated and new pods will be spawned (not for ReplicationController)
Discover Docker registry URL for OpenShift connections
When an OpenShift connection is created, the Docker registry URL is empty. When the CDK is started through the CDK server adapter, an OpenShift connection is created or updated if a matching OpenShift connection is found. But what if you have several OpenShift connections, the remaining ones will be left with the empty URL.
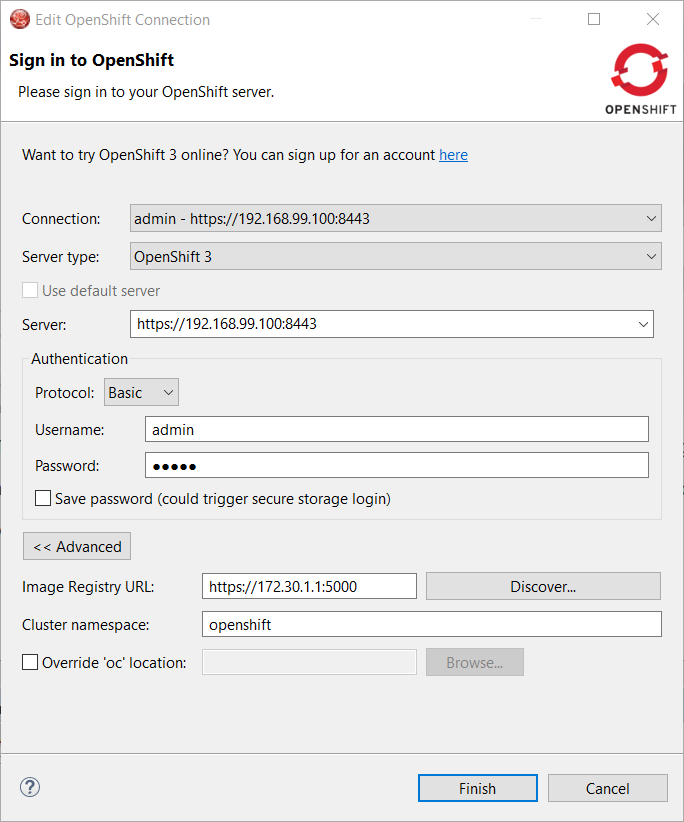
You can find the matching Docker registry URL when editing the OpenShift connection through the Discover button:
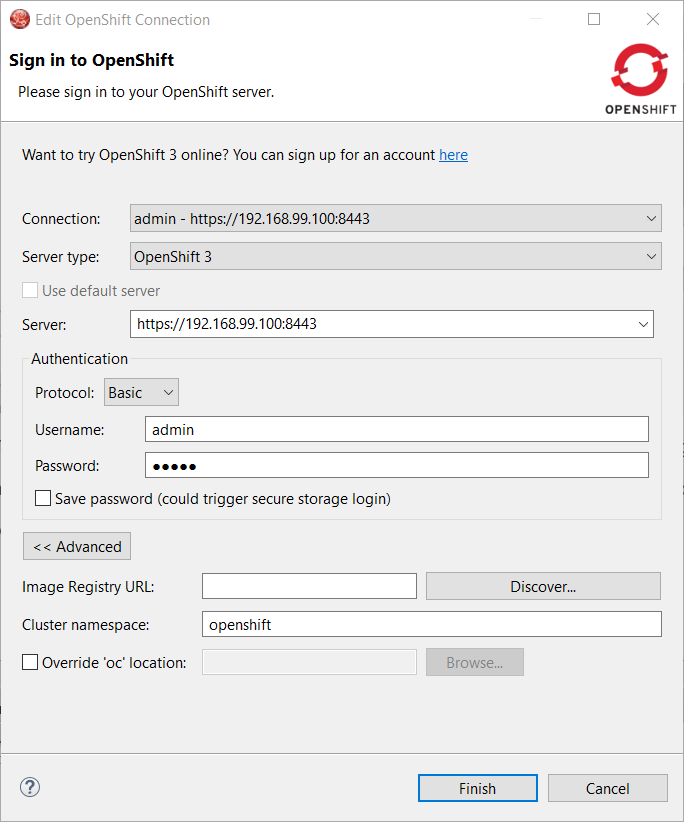
Click on the Discover button and the Docker registry URL will be filled if a matching started CDK server adapter is found:
OpenShift.io login
It is possible to login from JBoss Tools to OpenShift.io. A single account will be maintained per workspace. Once you initially logged onto OpenShift.io, all needed account information (tokens,…) will be stored securely.
There are two ways to login onto OpenShift.io:
-
through the UI
-
via a third party service that will invoke the proper extension point
UI based login to OpenShift.io
In the toobar, you should see a new icon  . Click on it and it will launch the login.
If this is the first time you login to OpenShift.io or if you OpenShift.io account tokens are not valid anymore, you should see a browser launched with the following content:
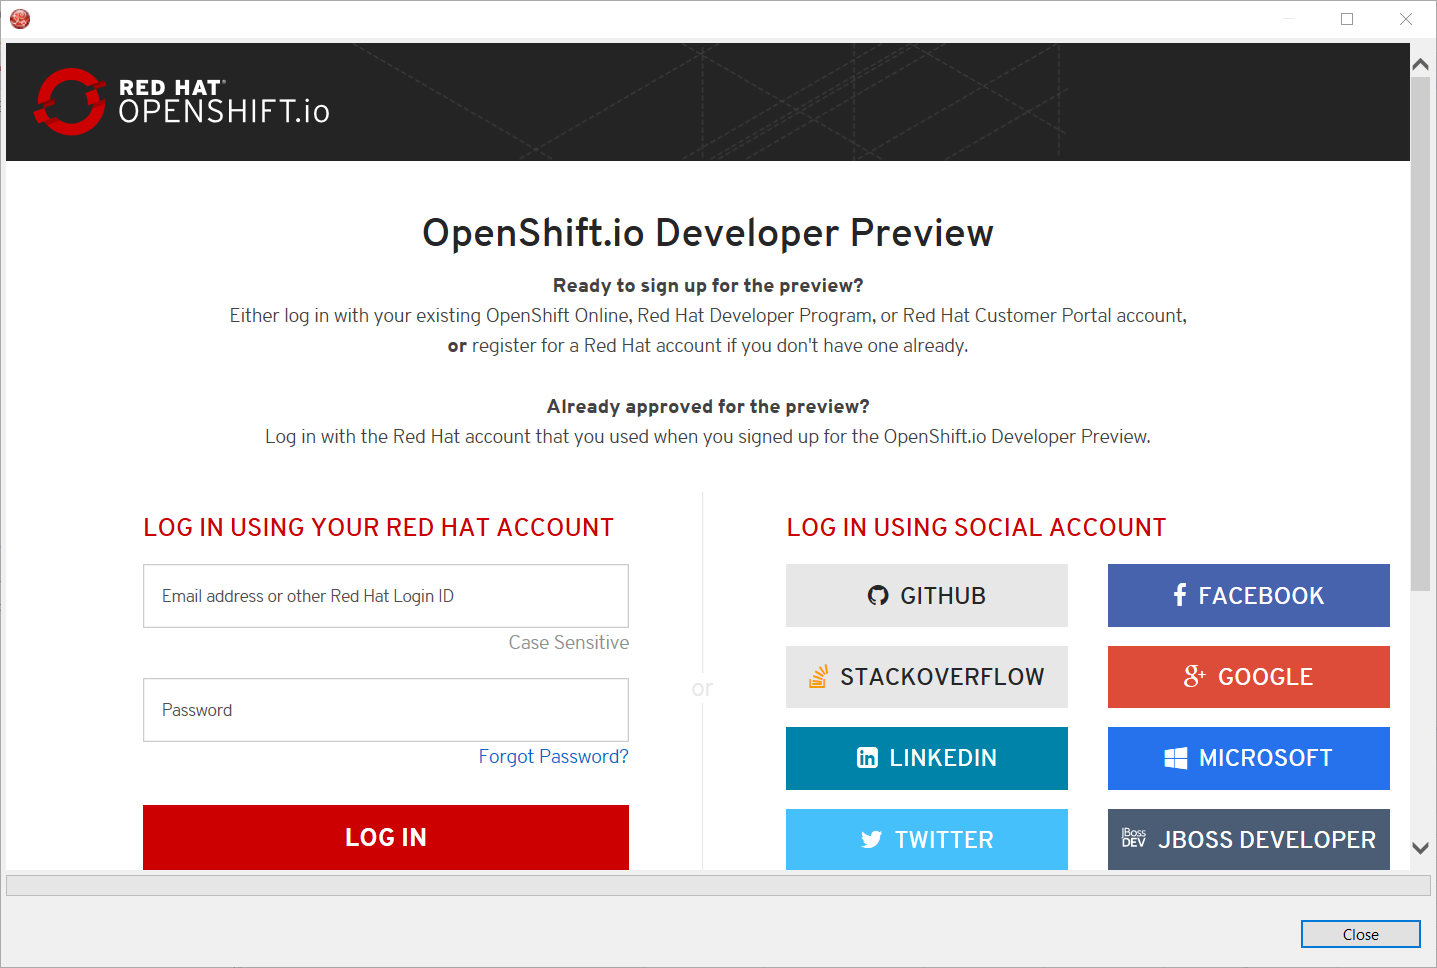
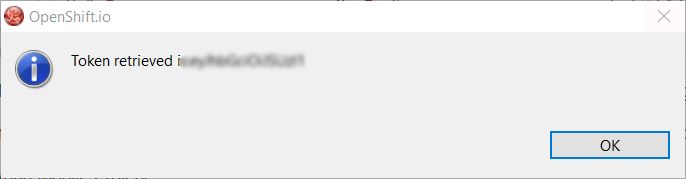
Enter your RHDP login and the browser will then auto-close and an extract (for security reasons) of the OpenShift.io token will be displayed:
This dialog will be also shown if an OpenShift.io account was configured in the workspace and the account information is valid.
Via extension point
The OpenShift.io integration can be invoked by a third party service through the org.jboss.tools.openshift.io.code.tokenProvider extension point.
This extension point will perform the same actions as the UI but basically will return an access token for OpenShift.io to the third party service.
A detailed explanation of how to use this extension point is described here: Wiki page
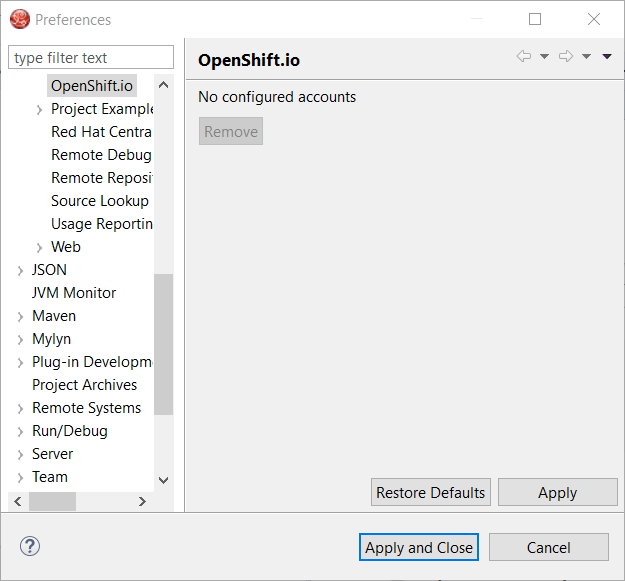
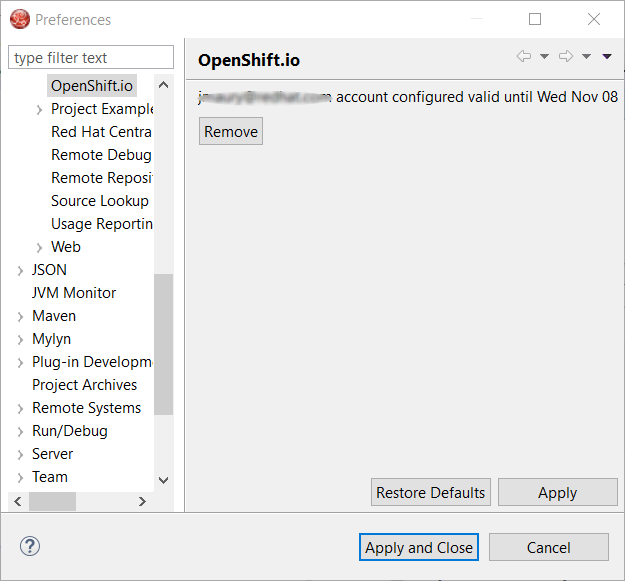
You can display the account information using the Eclipse Jboss Tools → OpenShift.io preference node. If you workspace does not contain an OpenShift.io account yet, you should see the following:
If you have a configured OpenShift.io account, you should see this:
Fuse Tooling
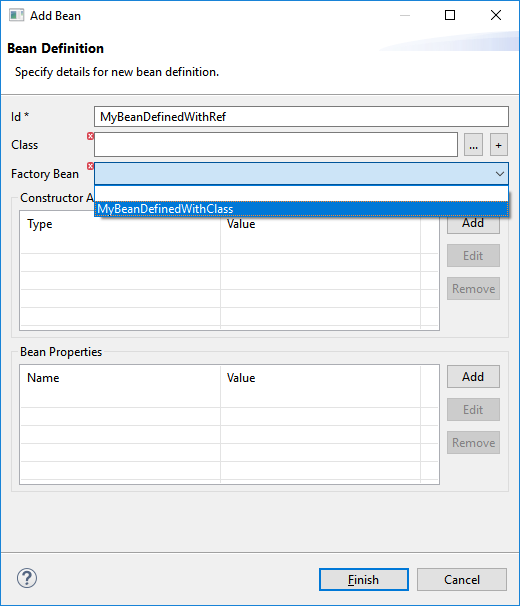
Global Beans: improve support for Bean references
It is now possible to set Bean references from User Interface when creating a new Bean:
Editing Bean references is also now available on the properties view when editing an existing Bean:
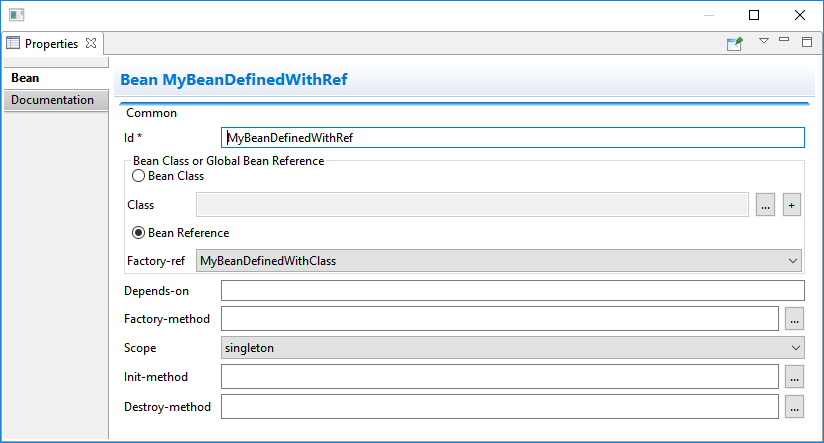
Additional validation has been added to help users avoid mixing Beans defined with class names and Beans defined referencing other beans.
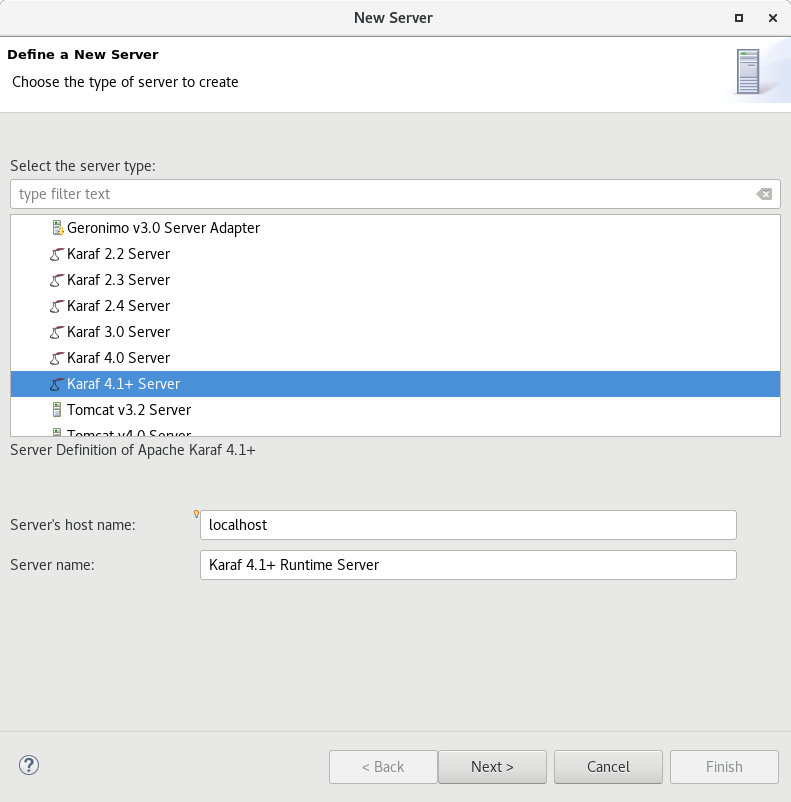
Apache Karaf 4.x Server Adapter
We are happy to announce the addition of new Apache Karaf server adapters. You can now download and install Apache Karaf 4.0 and 4.1 from within your development environment.
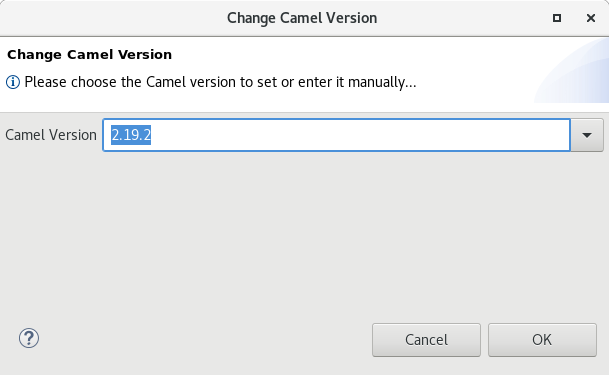
Switch Apache Camel Version
You can now change the Apache Camel version used in your project. To do that you invoke the context menu of the project in the project explorer and navigate into the Configure menu. There you will find the menu entry called Change Camel Version which
will guide you through this process.
Java Developement Tools (JDT)
Support for Java™ 9
Java™ 9 is here, and JDT fully supports it:
-
The Eclipse compiler for Java (ECJ) implements all the new Java 9 language enhancements
-
Updated significant features to support Java Modules, such as compiler, search and many editor features.
|
It is not mandatory to run Eclipse with Java Runtime 9 to get the Java 9 support. However, a Java runtime 9 is required to be on a project’s build path to compile a modular project against the system modules. |
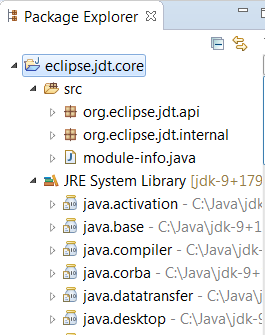
-
When a Java Runtime 9 is added to a project’s build path, the system modules are listed under the System library in the package explorer
-
An existing non-modular Java project can be quickly converted to a module by creating a module-info.java for that project. This feature can be availed once the project has been moved to compliance 9

-
With Java 9 support, a library or a container can now be added to the module path as opposed to the classpath
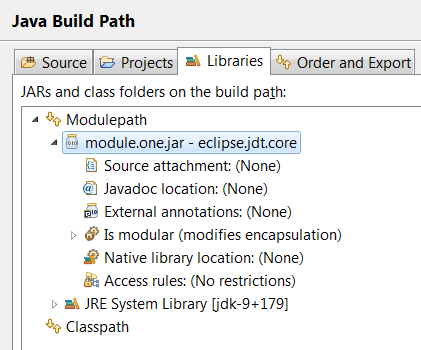
-
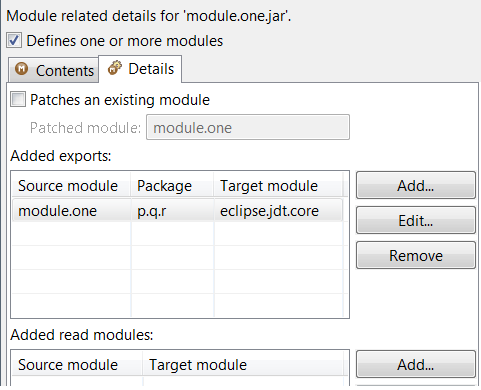
Once a module has been added to a project’s module path, its encapsulation properties can further be modified by clicking on the Is Modular option and editing the Module properties. The following example shows how module module.one can can be made to export its packages in the context of the current Java project
-
Java search now includes a new search scope - Module

Support for JUnit 5
JUnit 5 support is now available in Eclipse.
-
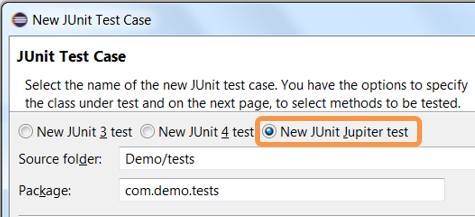
Create a new JUnit Jupiter test via *New JUnit Test Case wizard:
-
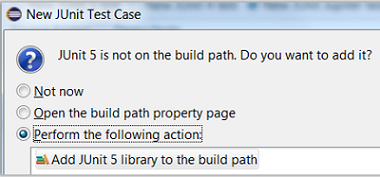
Add JUnit 5 library to the build path
-
New JUnit Test Case wizard offers to add it while creating a new JUnit Jupiter test
-
-
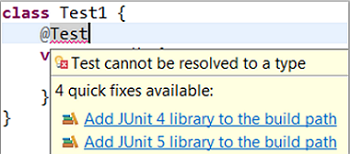
Quick Fix (Ctrl+1) proposal on @Test, @TestFactory, @ParameterizedTest and @RepeatedTest annotations
-
Add JUnit library in Java Build Path dialog

-
Create a JUnit Jupiter test method with the new test_jupiter template

-
Create a @TestFactory method with the new test_factory template

-
JUnit Jupiter’s Assertions, Assumptions, DynamicContainer and DynamicTest classes are now added to Eclipse Favorites by default

This allows you to quickly import the static methods from these classes in your code via Content Assist (Ctrl + Space) and Quick Fix (Ctrl + 1).
-
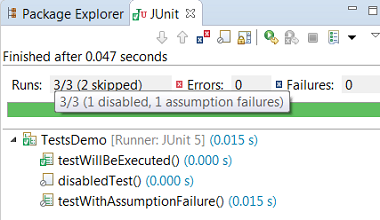
View all the failures from grouped assertions in the same Result Comparison dialog opened from JUnit view

-
View the number of disabled tests and tests with assumption failures on hover in JUnit view
-
Use Go to File action or just double-click to navigate to the test from JUnit view even when the test is displayed with a custom name

-
(Re-)Run a single @Nested test class by using the Run action in JUnit view or Outline view. You can even right-click on a nested test class name in the editor and use the Run As action

-
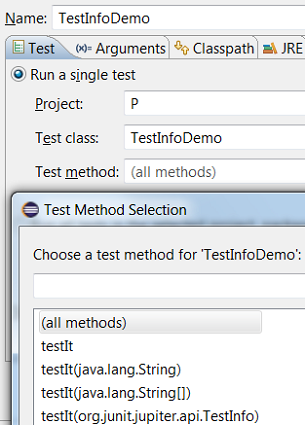
The Test Method Selection dialog in JUnit launch configuration now shows the method parameter types also
-
You can provide tags to be included in or excluded from a test run in the Configure Tags dialog of JUnit launch configuration

|

We do not support running tests in a setup where an old Eclipse build (not having JUnit 5 support) is using a new Eclipse build (having JUnit 5 support) as target. Also, developers who have the JDT JUnit runtime bundles (org.eclipse.jdt.junit.runtime, org.eclipse.jdt.junit4.runtime) checked out and pull the latest changes will run into the above issue. You are expected to use a new Eclipse build for the development.
And more…
You can find more noteworthy updates in on this page.
