Remote servers allow developers to access and deploy to a JBoss instance that is not a local machine. Developers can use remote servers to set up multiple environments for development and testing purposes and share them with other developers. Another reason to use a remote server with Red Hat Developer Studio is to allow developers to share and deploy automated tests to run in a non-local environment.
The following instructions are used to set up a remote server for JBoss Enterprise Middleware application servers. A complete server definition requires a server adapter (or server) that allows the IDE to communicate with and manage the remote server.
Configuring a Remote Server
-
Click the
Serversview. If theServersview is not visible, click . -
Use the appropriate instructions depending on the number of existing servers listed in the
Serverstab:-
If there are no existing servers, click
No servers are available. Click this link to create a new server…. -
If there are one or more existing servers, right-click an existing server and click .
-
-
In the
New Serverwizard, add the relevant information for the following fields:-
From the
Select the server typelist, select a JBoss Enterprise Middleware application server. -
The
Server’s host nameandServer namefields are completed by default. In theServer namefield, you can type a custom name by which to identify the server in theServersview. -
Click
Next >to continue.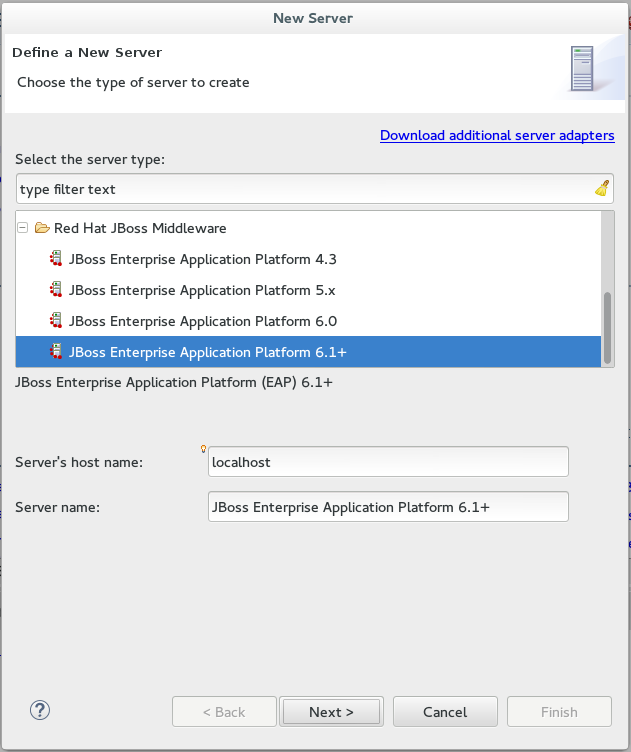 Figure 1. Define a New Remote Server
-
-
Configure the required
Server Adapterdetails:-
For the
The server isfield, click theRemoteradio button option. -
For the
Controlled byfield, select either theFilesystem and shell operationsorManagement Operationsradio button option depending on your requirements.If you select Management Operationsfor theControlled byfield, you must set up an admin user on the server by using the$SERVER_HOME/bin/add-users.shscript (for Linux, or the$SERVER_HOME\bin\add-users.batfile for Windows) and enter the same credentials in the server editor or during the server start. -
The
Server is externally managed. Assume server is startedfield is used when the user wants to deploy the server but does not want the IDE to stop or start the server for them. Depending on the requirements, select this check box or leave it unchecked, as is default. -
A remote server can now be created without assigning a runtime to it. Depending on the requirements, select the Assign a runtime to this server check box (and select an existing runtime or create a new one) or leave the box unselected.
Creating a Remote Server without a runtime results in limitations. For example, the JMX connection does not work because it requires libraries from the runtime to connect via JMX. Additionally, automatic port detection occurs using the standalone.xmlfile, which is not available if a runtime is not specified. These and other minor issues related to hard-coded minor fixes in maintenance releases may occur if no runtime is specified for the Remote Server.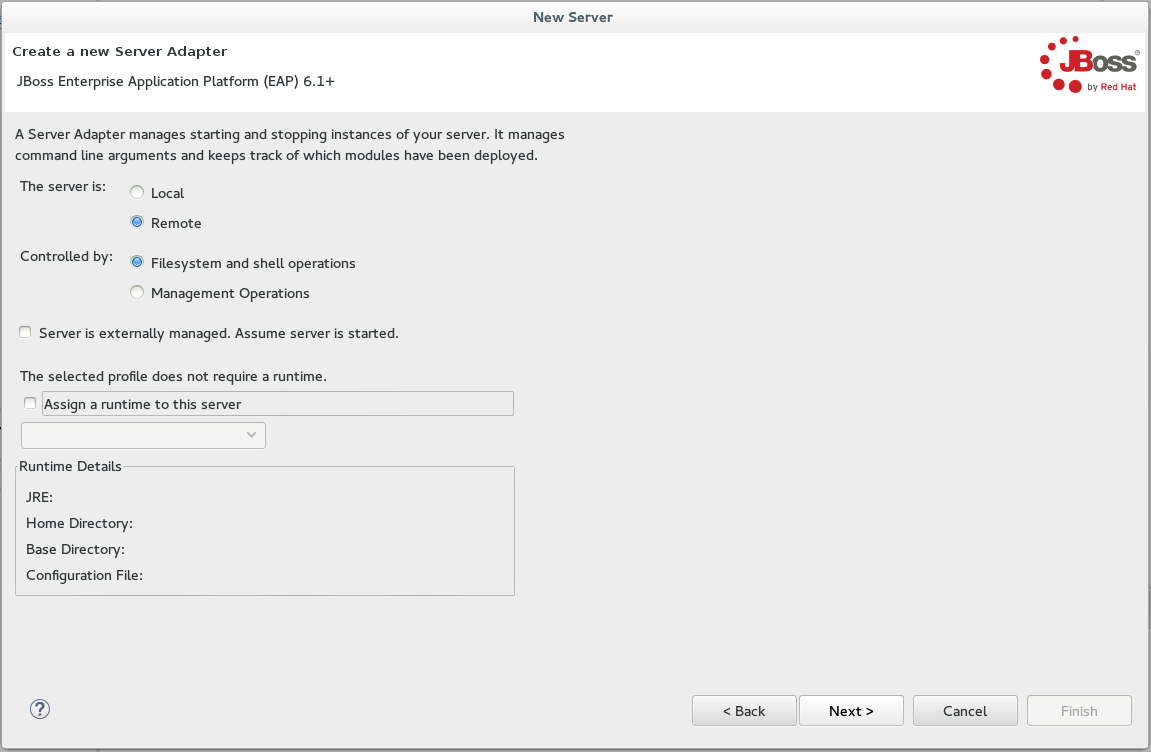 Figure 2. Create a New Server Adapter
-
-
Add the remote system integration details as follows:
-
In the drop-down menu, select the appropriate host type in the
Hostfield.-
The default host is
Local. -
If required, use the
New Hostbutton to create a new host, which may be remote or local. Supported connection types for remote hosts areFTP OnlyorSSH Only.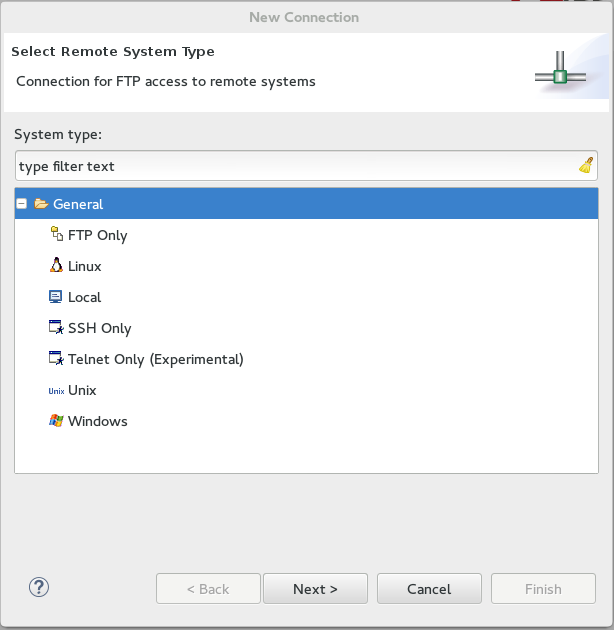 Figure 3. New Host Options
-
-
Add the
Remote Runtime Detailsas follows:-
Specify a path to the directory that contains the remote server in the Remote Server Home field.
-
Specify the remote server’s base directory (the default value for this is the standalone directory within server home directory) in the
Remote Server Base Directory field. This location is within theRemote Server Homedirectory (specifically in the$SERVER_HOME/BASE_DIRECTORY/configuration/directory). -
Specify the file to use for the remote server’s configuration (the default value for this is the standalone.xml file) in the
Remote Server Configuration Filefield. This location is within theRemote Server Homedirectory (specifically in the$SERVER_HOME/BASE_DIRECTORY/configuration/directory). -
Either click
Next >to continue to the (optional) next step to add or remove server resources or clickFinishto conclude the new remote server configuration. Figure 4. Connect to a Remote System
-
-
-
Optional: Add or remove resources configured on the server as follows:
-
To add a resource, select the appropriate resource in the
Availablepane and clickAdd >. To add all available resources, clickAdd All >>. -
To remove a resource, select the appropriate resource in the
Configuredpane and click< Remove. To remove all configured resources, click<< Remove All. -
Click
Finishto complete the server configuration.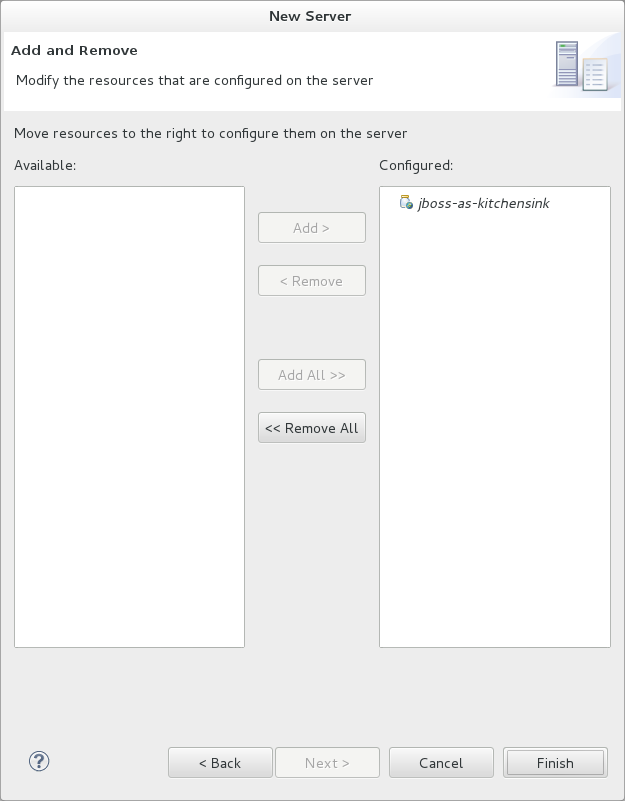 Figure 5. Add and Remove Server Resources
Result: You have successfully configured a remote server. The new server is listed in the
Serverstab. Right click the server to view operations, includingStartto start the server.
-
|
If the |