The IDE includes an Import wizard to allow users to quickly and easily import previously created FeedHenry applications. Once the application is imported, you can change or enhance the application, test the changes, and then push it back to the FeedHenry server.
|
Before attempting to install or create a hybrid mobile project with JBoss Tools, ensure that the Android SDK is installed and up to date. Creating or installing hybrid mobile projects without a working and updated installation of Android SDK can result in unexpected errors. |
Follow the provided steps to import and make changes to a FeedHenry application in your workspace:
Prerequisites
Ensure that the following prerequisites are met to enable the FeedHenry feature:
Install Android SDK
To install Android SDK:
-
Download Android SDK and then unzip the file at a desired location.
-
In the IDE, click
Window>Preferences. -
In the
Preferenceswindow,type filter textfield, typeHybrid Mobile. -
In the
Hybrid Mobilecategory, clickAndroid. -
Click
Browseto locate and select the Android SDK directory on your machine.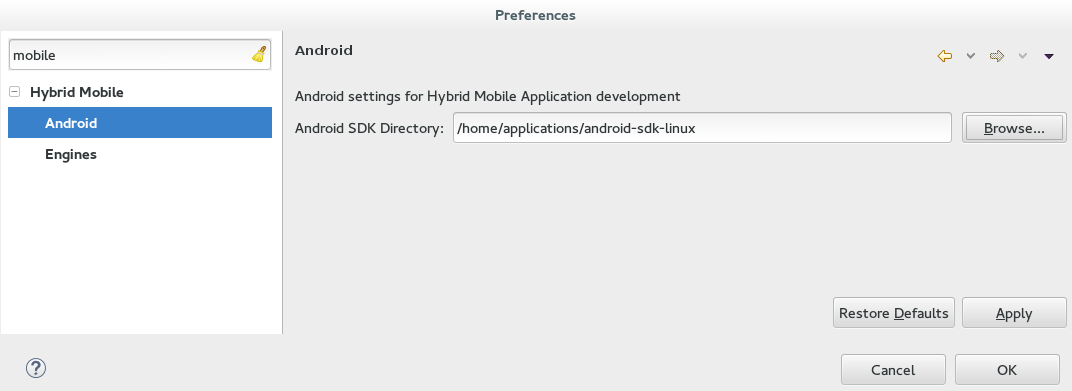 Figure 1. Select the Android SDK Location
 -
Click
Applyand then clickOK.
Enable the FeedHenry Feature
To enable the FeedHenry feature:
-
In JBoss Central, click the
Software/Updatetab. -
In the
Features Availablelist, select theHybrid Mobile Tools + CordovaSimcheck box and then clickInstall/Update.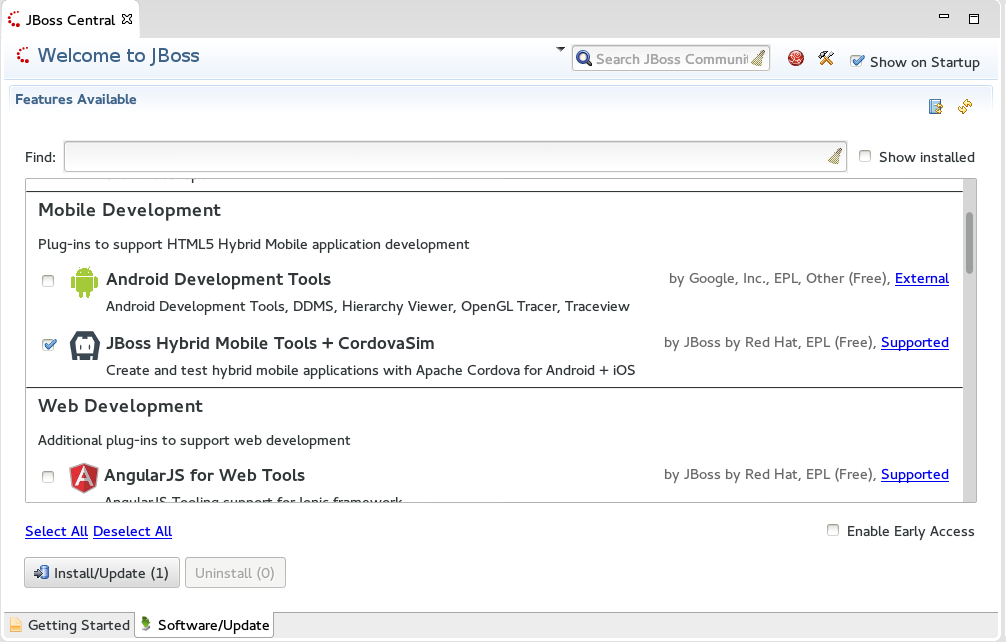 Figure 2. Hybrid Mobile Tools + CordovaSim Check Box Selected
 -
Follow the on-screen instructions to complete the installation.
Set the Preferences for your application import
To set the preferences:
-
Click
Window>Preferences. -
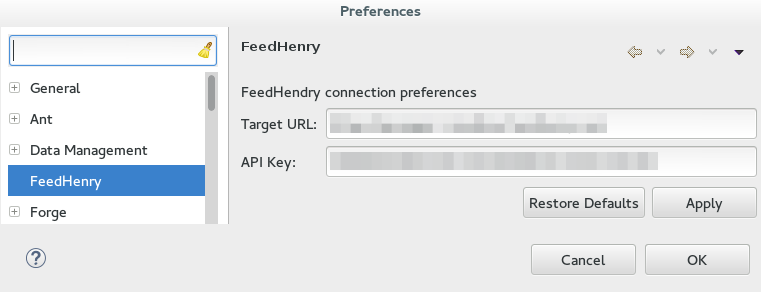
In the
Preferenceswindow, in the search field type,FeedHenryand press Enter. -
Complete the following fields in the
Preferenceswindow:-
Ensure that the
Target URLfield displays the URL to your FeedHenry server. The URL to your FeedHenry server should be something like:https://[your-studio-domain].feedhenry.com. -
In the
API Keyfield, copy and paste the API key from the FeedHenry website.
-
Note: The user can either use an existing API key or generate a new one to set the preferences. To obtain the API key from the FeedHenry website click Settings > API Key Management. To generate a new API key, click Settings > API Key Management, and then click Add New Key.
-
Click
Applyand then clickOKto close thePreferenceswindow.
1. Import Your FeedHenry Application
Ensure that your Preferences are set before importing a FeedHenry application. If not set yet, you are prompted to set the preferences. These preferences are set once when importing an application for the first time and the configured preferences are used for all imports in the future.
To import your FeedHenry application:
-
Click
File>Import. -
Expand
FeedHenry, click Import Cordova Application, and clickNext. -
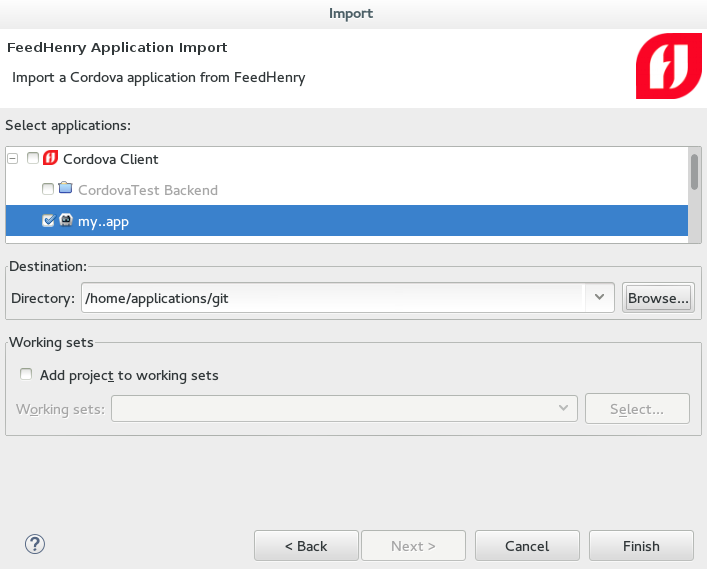
The
Importwizard displays the projects that you can import. Expand the project to import an application from and select the FeedHenry application to be imported. -
In the
Directoryfield, enter the location where you want to clone the application locally. -
Click
Finish.
If you have set a password for the SSH keys, you are prompted to enter the password so that it can import the application.
Result: The FeedHenry project is successfully imported and appears in the Project Explorer view. The Cordova config.xml file for this project opens in the Editor.
Test the Application Import
To test the application import:
-
In the
Project Explorerview, right-click the application and then clickRun As>Run w/remote FeedHenry server. A CordovaSim simulated device displaying the application appears.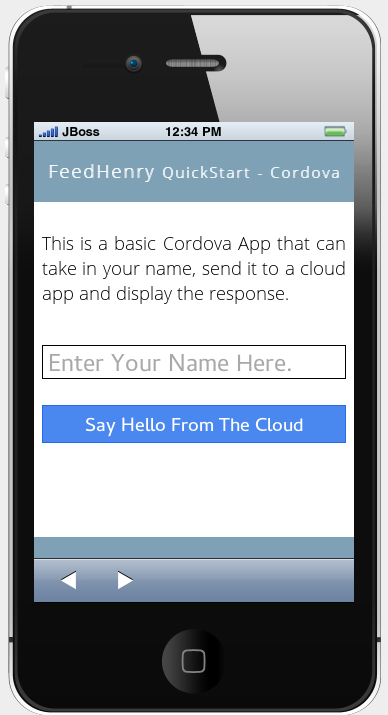 Figure 5. Simulated Device Displaying the Imported Application
 -
In the
Enter Your Name Herefield on the simulated device, type your name. -
Click
Say Hello From The Cloud.
Result: The simulated device displays the “Hello [Your Name]” string.
2. Change the Application
After successfully importing the FeedHenry application, follow the instructions to change the application:
-
In the
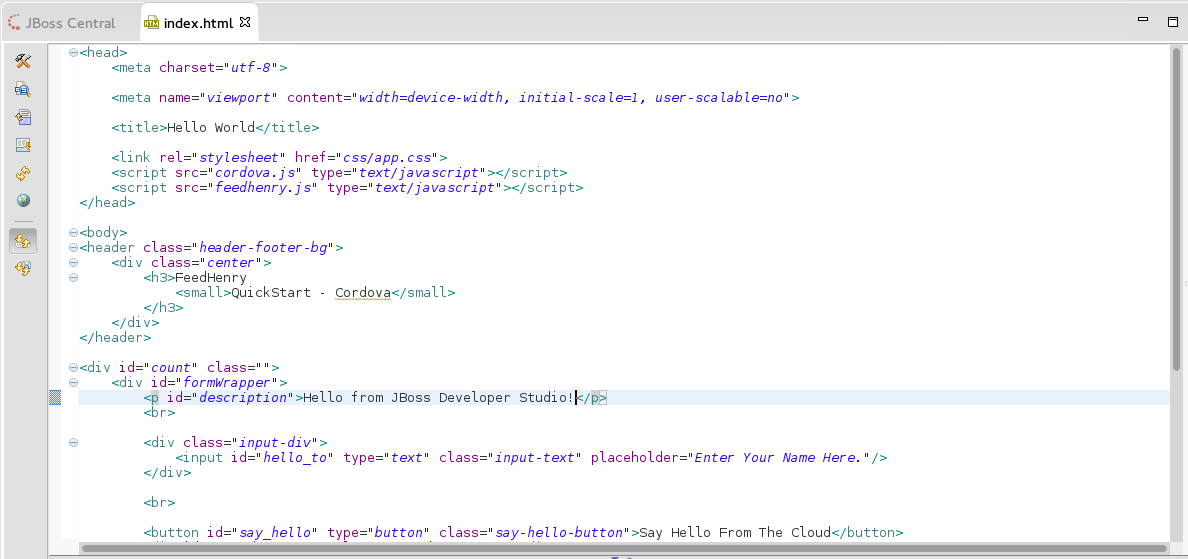
Project Explorerview, expand[application name]>wwwand then double-clickindex.htmlto open it using the Editor. -
In the code, locate and delete the following line:
This is a basic Cordova App that can take in your name, send it to a cloud app and display the response. -
Replace the deleted text with the following line:
Hello from Hybrid Mobile Tools! -
Save the
index.htmlfile by pressing Ctrl+S. Alternatively, to save clickFile>Saveor click theSaveicon.
3. Test the Application
To test the imported application, right-click the application and then click .
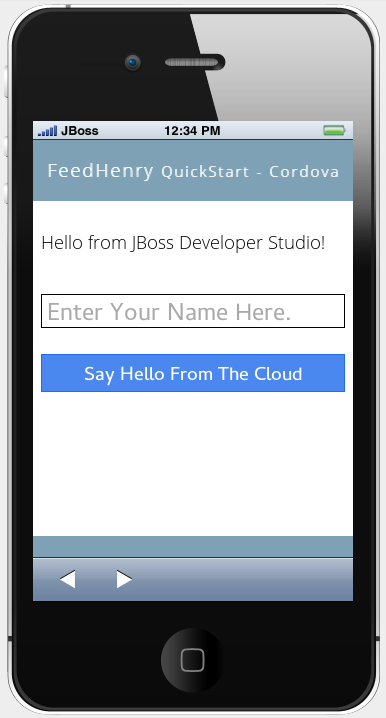
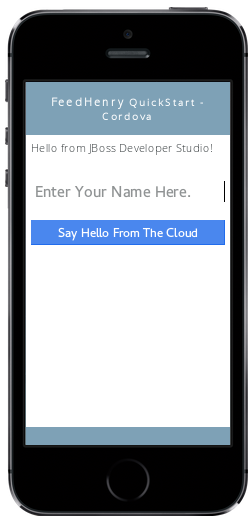
The changes made to the index.html file are reflected on the simulated device. Click a corner of the displayed device to rotate it in that direction. Alternatively, right-click the simulated device and click Rotate Right or Rotate Left as to rotate it in the desired direction.
To view the application on a different CordovaSim simulated device, right-click the device and click Skin. From the list of skins, select a skin to view the application.
4. Push the Changes Back to the FeedHenry Server
Use the following instructions to push changes to the application back to the FeedHenry server:
-
In the
Project Explorerview, right-click the application name. -
Click
Team>Commit. -
In the
Commit Changeswindow,Commit messagefield, type a message for the commit. -
In the
Filesfield, select the files that you have edited and want to push to the server and then clickCommit and Push. -
In the
Push Results [application name]window, ensure all the details are correct and clickOK. -
Log into FeedHenry at
https://[your-studio-domain].feedhenry.com. -
Click
Projects. -
Click the
Project Titleunder which your application is located and then click the application.
Result: The simulated device in the App Preview section displays the change that you have just pushed to the FeedHenry server.
Did You Know
-
Add a new API key to your FeedHenry account by clicking
Add New Keyand then following the on-screen instructions. -
Set up your SSH key in the FeedHenry account by clicking
Settings>SSH Key Managementand then following the on-screen instructions.
Troubleshooting
Git Communication Error
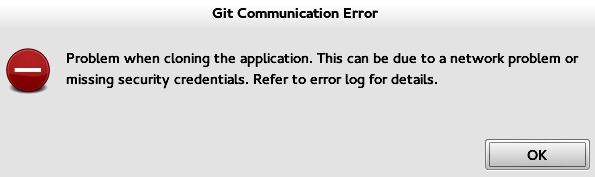
Error Message
Problem when cloning the application. This can be due to a network problem or missing security credentials. Refer to error log for details.
Issue
When a FeedHenry account is set up, the user’s API Keys are configured by default, but the SSH Public key must be manually configured. Importing a FeedHenry application means that the application repository is accessed via Git. Without a Public SSH key, the tools are unable to complete the action and this error appears.
Resolution
-
Click
OKto close theGit Communication Errorwindow. -
Log into FeedHenry at:
https://[your-studio-domain].feedhenry.com. -
Click the icon located in the uppermost right-side corner of the screen to display the context menu.
-
Click
Settings>SSH Key Managementand then clickAdd New Key. -
In the
Public Keyfield, enter your SSH Public key. An existing Public SSH key is available at~/.ssh/id_rsa.pub. Alternatively, generate a new Public SSH key with the following command:
ssh-keygen -t rsa -C "username@example.com"
Invalid Preferences
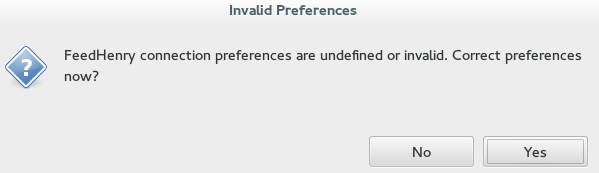
Issue
When the user logs into FeedHenry for the first time, the Invalid Preferences dialog box appears informing the user that the FeedHenry connection preferences are unidentified or invalid and that the user must correct the preferences. Refer to the Set the Preferences section for details to set the connection preferences.