Docker offers images that can be managed in one of two ways: build/create your own image using a script file, or pull down an existing image file from public or private registries online. This procedure contains instructions for pulling down an image from the JBoss registry. Such registries are useful to share images between developers or between environments to ensure a standardized software stack for development or testing requirements. Once the Docker Container is created and running, users can manage the container.
JBoss Tools 4.3.0 Beta1 includes the Docker tooling out of the box. This article introduces the basic usage for the Docker tooling, such as:
1. Prerequisites for Docker Tooling
Ensure that the following prerequisites are met when using the Docker tooling with the IDE:
-
Install and set up JBoss Tools 4.3.0 Beta1 or higher.
-
Install and set up Docker.
-
Establish a connection to a Docker daemon within JBoss Tools as follows:
-
Click .
-
In the
Viewwindow, type docker in the filter text box to view Docker-related options in the list. -
Expand the
Dockeritem in the results and selectDocker Explorer. -
In the
Docker Explorerview, if no connection is configured, a message appears stating that "No connection to a Docker daemon is available. Click this link to create a new connection…”. Click the link to start configuring a new Docker daemon connection. Figure 1. No Connection to a Docker Daemon is Available
 -
In the
Connect to a Docker daemonwizard:-
Use the default value or set a desired connection name in the
Connection Namefield. -
Check the
Use custom connection settingsfield. -
Add the relevant socket information for your host. If you are unsure about this step, use the default Unix socket Location value.
-
Click
Test Connectionto test the connection. -
When a connection is successfully established, the following message appears:
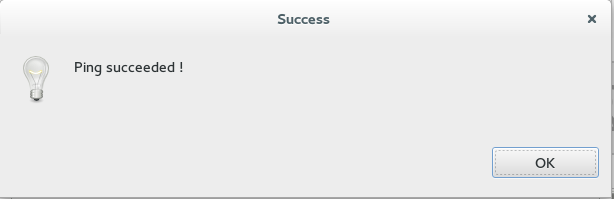 Figure 2. Ping Success Message
 -
This message indicates that the Docker daemon connection is successfully established.
-
-
2. Pulling Docker Images from a Docker Registry
The following instructions detail how to pull a new WildFly Docker Image from the JBoss registry.
-
Click .
-
Type Docker in the filter text field to view Docker-related options in the list.
-
Expand the
Dockerentry and double clickDocker Images. -
In the listed entries for the
Docker Imagesview, locate the entry that ends with wildfly:latest. If this entry is not listed, pull the Wildfly image as follows:-
Click the Pull Image icon at the top bar of the
Docker Imagesview. -
In the resulting wizard, type jboss/wildfly and click finish.
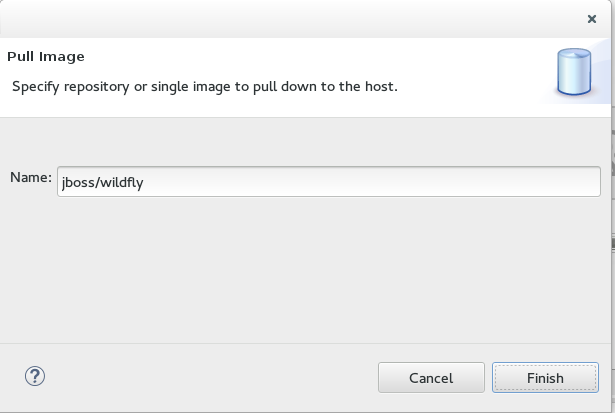 Figure 3. Pull WildFly Image from JBoss Registry
 -
The bottom right corner displays the progress as the image is pulled down from the registry. When the pulling process completes, the appropriate entry appears on the Docker Images list as follows:
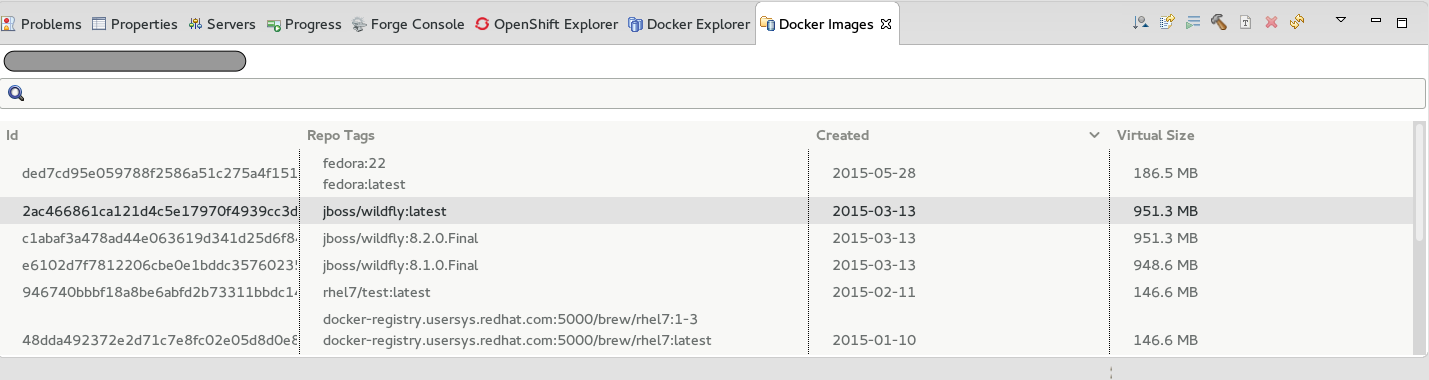 Figure 4. The Docker WildFly Image
Result: You have now pulled a new image for Wildfly from the JBoss registry and run the Docker Image.
-
3. Managing Docker Containers
Docker containers are isolated processes that are based on Docker Images. Once created, users can stop, start, pause, unpause, kill, or remove the containers, or read their logs.
-
Click .
-
Type Docker in the filter text field to view Docker-related options in the list.
-
In the search results, expand the Docker entry and double-click
Docker Containers. -
The
Docker Containersview appears, displaying a list of all containers running on the Docker host. -
Click the desired container to select it. You can now manage your containers using the following operations:
-
Click the pause button from the icons on the top right corner of the view to pause the container.
-
Click the green triangle icon in the row to unpause the container.
-
To view the container logs, right click the container name and click
Display Log. -
To view a list of all containers, click on the right-most icon in the list of icons in the view, which displays a drop-down option to view all containers. Click this option to view all available containers.
-
Result: You have performed various management operations on your Docker container.
Troubleshooting
Attempting to connect to a running local Docker instance as a non-root user results in errors being logged, but not displayed in the User Interface, which results in the error being non-obvious. The following workarounds are available for this problem:
-
Connect to the Docker instance manually. Define a custom configuration file and specify the TCP URL displayed by the systemctl status docker service. As an example, you can use a TCP URL such as
tcp://0.0.0.0:2375to connect to the running Docker instance instead of the defaultunix:///var/run/docker.sockconfiguration file.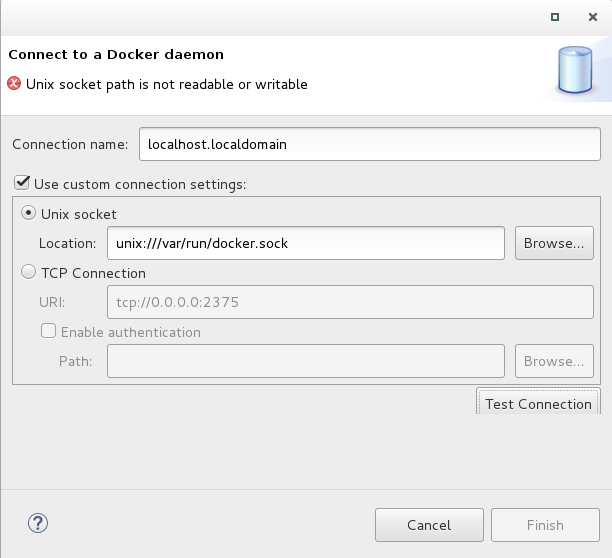 Figure 5. Connect to a Docker Daemon
 -
Run Eclipse as root. This solution avoids the problem but is not the recommended solution.