The Git Import feature allows you to easily configure most of the settings required to make a project workable immediately after it is imported in the IDE.
The Import wizard assists you in importing projects into the IDE in one of the following ways:
-
Importing Projects from Git with Smart Import: Use this method if you are unaware of the type of the project that you are importing.
We recommend using the Projects from Git (with smart import) option because it is the easiest and most efficient way to import projects into the IDE with minimal effort.
-
Importing Projects from Git: Use this method when you are aware of the type of the project that you are importing.
-
Importing from the Existing local repositories: Use this method if you have a cloned copy of the repository on your local system.
-
Importing Existing Eclipse Projects: Use to import Eclipse projects.
-
Importing Using the New Project Wizard: Use to import a project that you want to begin working on from scratch.
-
Importing as a General Project: Use to import non-Eclipse projects.
-
-
Importing Projects from the Remote Git Repository: Use this method if a cloned copy of the repository does not exist on your local system.
-
|
The three options namely: importing existing eclipse projects, using the New Project wizard, and importing as a general project, are available under this method, too. |
Importing Projects from Git with Smart Import
Use the Project from Git (with smart import) option, if you are unaware of the type of the project that you want to import.
The Import wizard will automatically detect the type of project being imported and will configure the project so that you have to put in minimal effort to make the project workable.
The Git Import feature detects the various modules of a project that is a set of other individual projects. It detects markers such as pom.xml, MANIFEST.MF, etc. to determine the type of project that you are importing.
To import projects from Git with smart import:
-
Click
File>Import. -
In the
Importwindow, clickProjects from Git (with smart import)and clickNext. -
In the
Select Repository Sourcewindow, clickExisting local repositoryorClone URI. -
Step through the wizard and click
Finishfor the wizard to analyze the content of the project folder to find projects for import and import them in the IDE.Result:The imported project is listed in theProject Explorerview.
Importing Projects from Git
Use the Projects from Git option when you are aware of the type of project that you want to import into the IDE.
You can import projects in any one of the following ways:
Importing from the Existing local repositories
Use the Existing local repository option, if you have, at some point in time, cloned the remote Git repository and the repository is present on your local system.
Importing Existing Eclipse Projects
Use the Existing local repositories option to import Eclipse projects in the IDE. These projects essentially have a .project file. This .project file contains the project description and settings needed to configure and build project in Eclipse.
To import projects as existing Eclipse projects:
-
Click
File>Import. -
In the
Importwizard:-
Expand
Gitand then clickProjects from Git. ClickNext. -
Click
Existing local repositoryand then clickNext. -
Click
Gitto choose one of the recently used repositories from the list or clickAddto browse to any local repository. ClickNext. In theWizard for project importsection, clickImport existing Eclipse project. ClickNext. -
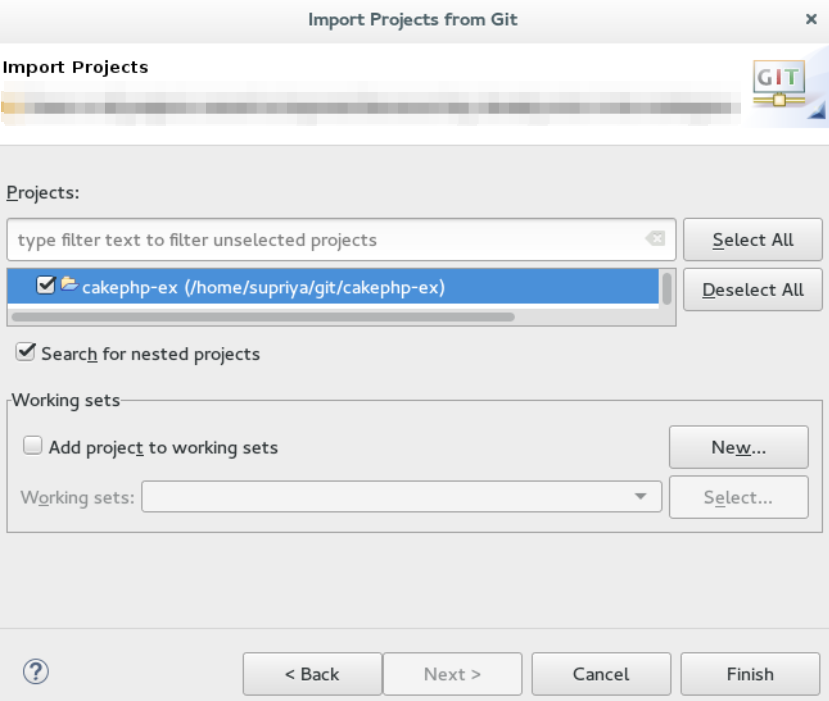
In the
Import Projectswindow, select all the projects that you want to import. -
Ensure that the
Select nested projectscheck box is clicked to import the nested projects under the parent project that you are importing. -
Click
Finish.
-
Result: The imported project is listed in the Project Explorer view.
Importing Using the New Project Wizard
Use the Import using the New Project wizard option, if your repository is empty and you want to start developing a new project and then push the code to the remote repository.
To import projects using the New Project wizard:
-
Click
File>Import. -
In the
Importwizard:-
Click
Git>Projects from Git. ClickNext. -
Click
Existing local repositoryand then clickNext. -
Click
Gitand then clickNext. -
In the
Wizard for project importsection, clickImport using the New Project wizard. ClickFinish. -
In the
New Projectwizard, expand the category, and then click the project type that you want to create and import. ClickNext.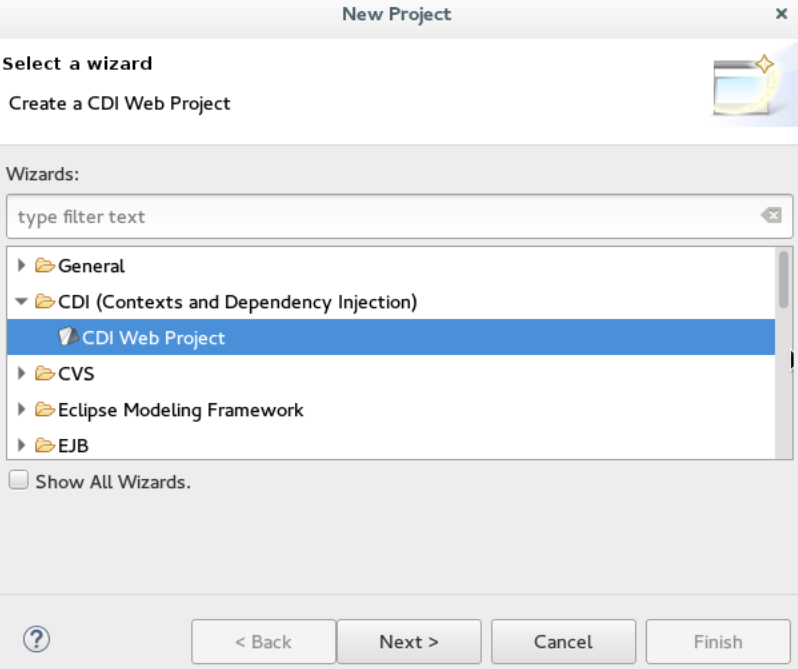
-
In the
New <type_of_project>window, fill in the information for the new project and clickNextorFinishto create the new project.Result:The imported project is listed in theProject Explorerview.
-
Importing as a General Project
Use the Import as general project option if the project being imported does not have a .project file, meaning it is not an Eclipse project. In this case Eclipse will create a clean .project file with default settings.
To import a project as a general project:
-
Click
File>Import. -
In the
Importwizard:-
Click
Git>Projects from Git. ClickNext. -
Click
Existing local repositoryand then clickNext. -
Click
Gitand then clickNext. -
In the
Wizard for project importsection, clickImport as general project. -
Select the project and click
Next. -
In the
Import Projects from Gitwindow, confirm or edit the default parameters and clickFinish.
-
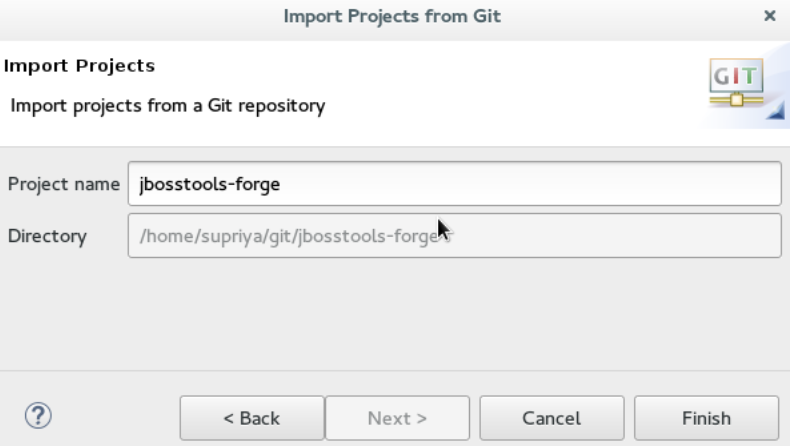
Result: The imported project is listed in the Project Explorer view.
Importing Projects from the Remote Git Repository
Use the Clone URI option to clone the repository on your system if you have never cloned the Git repository; meaning, the repository does not exist on your local system.
|
The three options, importing existing eclipse projects, importing using the New Project wizard, and importing as a general project, are available under the Clone URI method, too. For detailed steps, see the preceding sections: Importing Existing Eclipse Projects, Importing Using the New Project Wizard, and Importing as a General Project. |
To import projects in the Cloned URI:
-
Click
File>Import. -
In the
Importwizard:-
Click
Git>Projects from Gitand then clickNext. -
Click
Clone URIand clickNext. -
In the
Source Git Repositorywindow, in theURIfield, enter an existing Git repository URL, either local or remote and clickNext.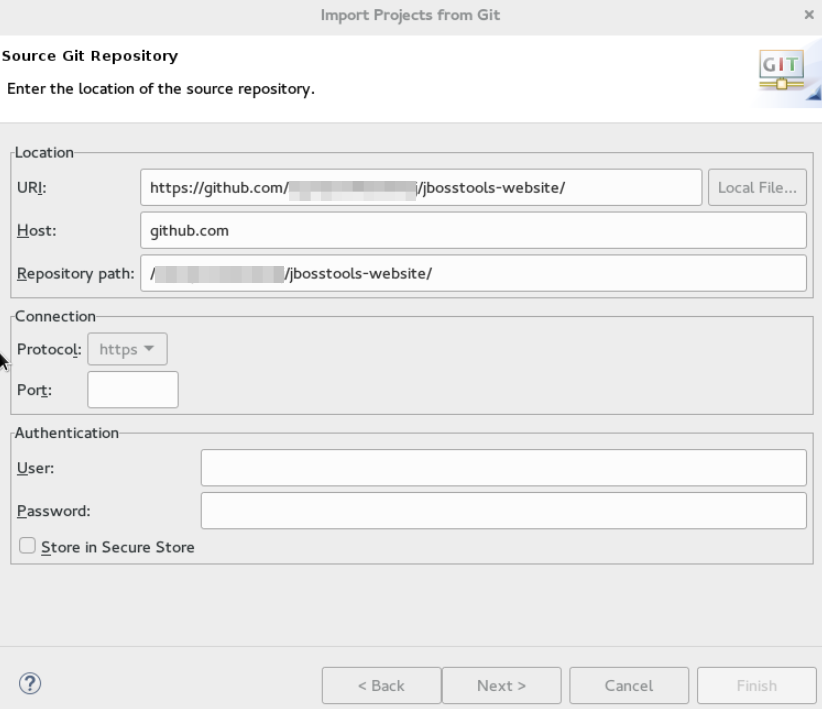
-
In the
Branch Selectionwindow, click all the branches that you want to clone from the remote repository and clickNext.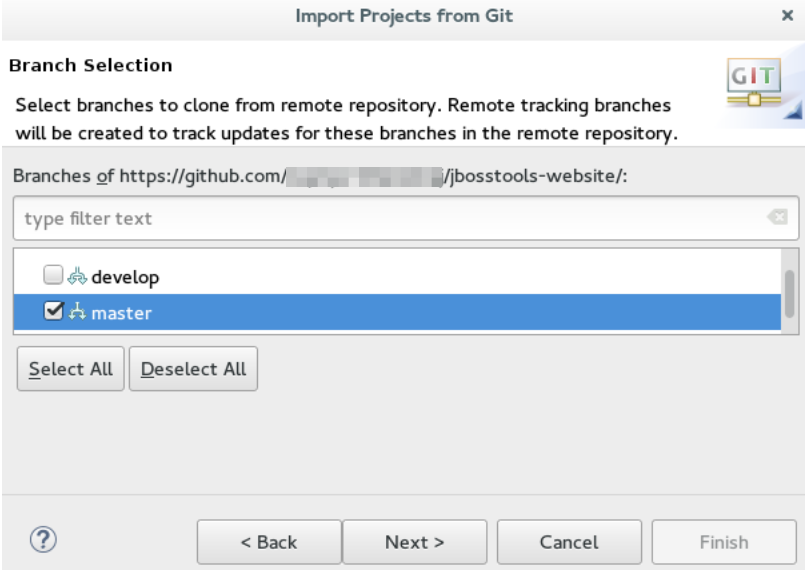
-
In the
Local Destinationwindow, ensure that the directory that you want to set as the local storage location for the repository is selected in theDirectoryfield. Or, clickBrowseto select the location.The
Cloning from <GitHub_repository>window shows the progress of the cloning process. -
In the
Select a wizard to use for importing projectswindow,Import as general projectis selected by default. ClickNext. -
In the
Import Projectswindow, ensure that theDirectoryfield shows the path to the directory where you want to import the projects and clickFinish.Result:The imported project is listed in theProject Explorerview. The cloned repository of the remote Git repository is now located in the local file system.
-