OpenShift Tools provides an all-in-one New OpenShift Application wizard for creating new OpenShift applications from templates and existing projects. This wizard is the starting point for creating all new OpenShift Online applications from the IDE and also for importing OpenShift Online applications to your workspace.
The New OpenShift Application wizard is an ideal starting point for new users to OpenShift and OpenShift Tools as it guides you through all the steps necessary to set up the IDE to use your OpenShift Online account and configure your account ready for applications.
The instructions here demonstrate how to use this wizard and a default OpenShift application template to create a basic OpenShift Online application. This includes one-time steps, such as signing up for an OpenShift Online account, creating an OpenShift Online domain and uploading SSH keys. If you have previously used OpenShift Online or OpenShift Tools, you can omit unnecessary one-time steps as appropriate.
Start the New OpenShift Application Wizard
-
In
JBoss Central, underStart from scratch, clickOpenShift Application.
Sign up for an OpenShift Online Account
If you do not have an OpenShift Online account, you should complete the following steps:
-
Click the link provided to sign up for an OpenShift account and follow the instructions on the OpenShift website.
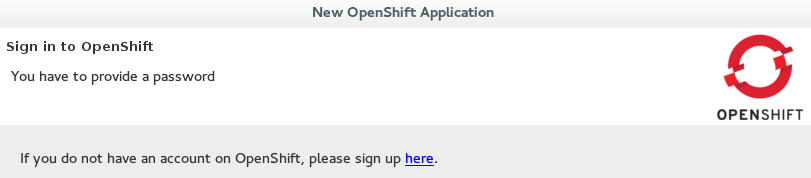 Figure 1. Link to Sign up for a New OpenShift Online User Account
 -
When you have completed the sign-up process, restart the
OpenShift Applicationwizard from JBoss Central.
Connect to OpenShift Online
-
Complete the fields about your OpenShift Online account as follows:
-
From the
Connectionlist, selectNew Connection. -
Ensure the disabled
Serverfield stateshttps://openshift.redhat.com. -
In the
UsernameandPasswordfields, type your account credentials.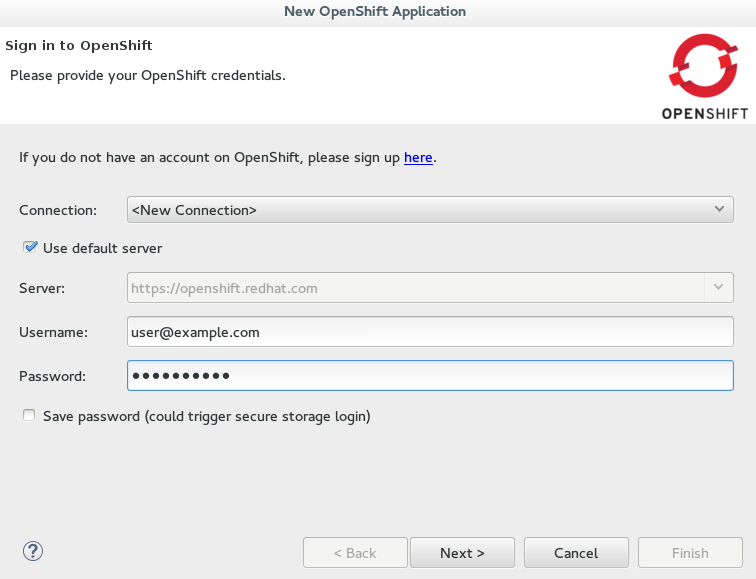 Figure 2. Connection Information Provided for OpenShift Online Account
-
-
Click
Next.
Enable Communication between the IDE and OpenShift
If your OpenShift Online account has no SSH public keys stored, you are prompted with the Add SSH Keys wizard and you should complete the following steps:
-
Click
New. -
Complete the fields about the SSH Keys to be created as follows:
-
In the
Namefield, type a name for the SSH key pair. -
From the
Key Typelist, ensureSSH_RSAis selected. -
In the
SSH2 Homefield, ensure your .ssh directory path is correct. -
In the
Private Key File Namefield, type a name for the private key file name. ThePublic Key File Namefield populates automatically with the name of the private key file name with .pub appended.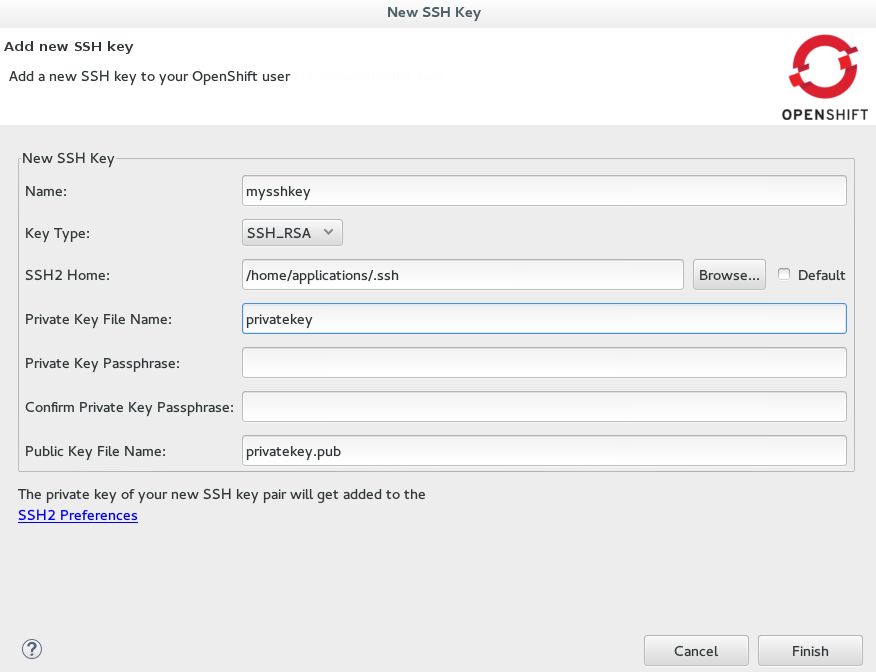 Figure 3. New SSH Key Information for OpenShift Online Provided
-
-
Click
Finish. -
Click
Finishto close theAdd SSH Keyswindow.
Create a Domain
If your OpenShift Online account has no domains, you are prompted with the Create Domain wizard and you should complete the following step:
-
In the
Domain Namefield, type an alphanumeric name for your new OpenShift Online domain and clickFinish. The provided domain name must be unique across all domains on OpenShift Online; if it is not unique, you are directed back to theCreate Domainwindow to provide a unique domain name.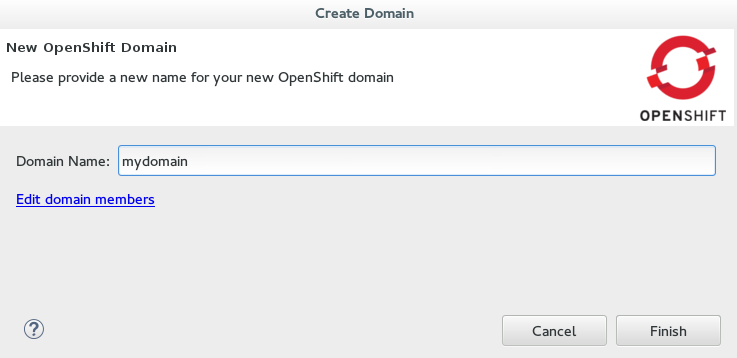 Figure 4. New OpenShift Domain Name Provided
Provide Essential New Application Details
-
Complete the fields about the type of OpenShift application you want to create as follows:
-
Ensure
Create a new OpenShift applicationis selected. -
Expand
Basic Cartridgesand selectJBoss Application Server 7.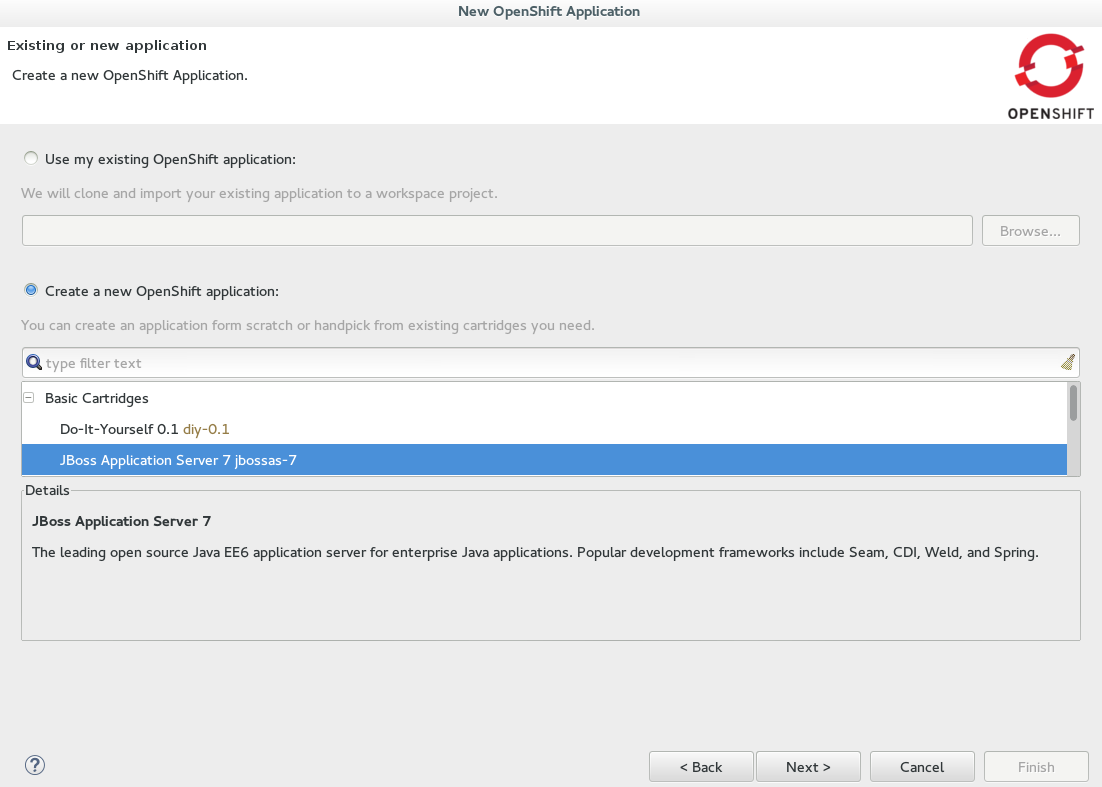 Figure 5. Basic Cartridge Selected for the New OpenShift Online Application
-
-
Click
Next. -
Complete the fields about your OpenShift application as follows:
-
Ensure the
Domainfield displays the OpenShift Online domain with which you want to host your application. -
In the
Namefield, type an alphanumeric name for your application. -
From the
Gear profilelist, selectsmall. -
Select the
Enable scalingcheck box.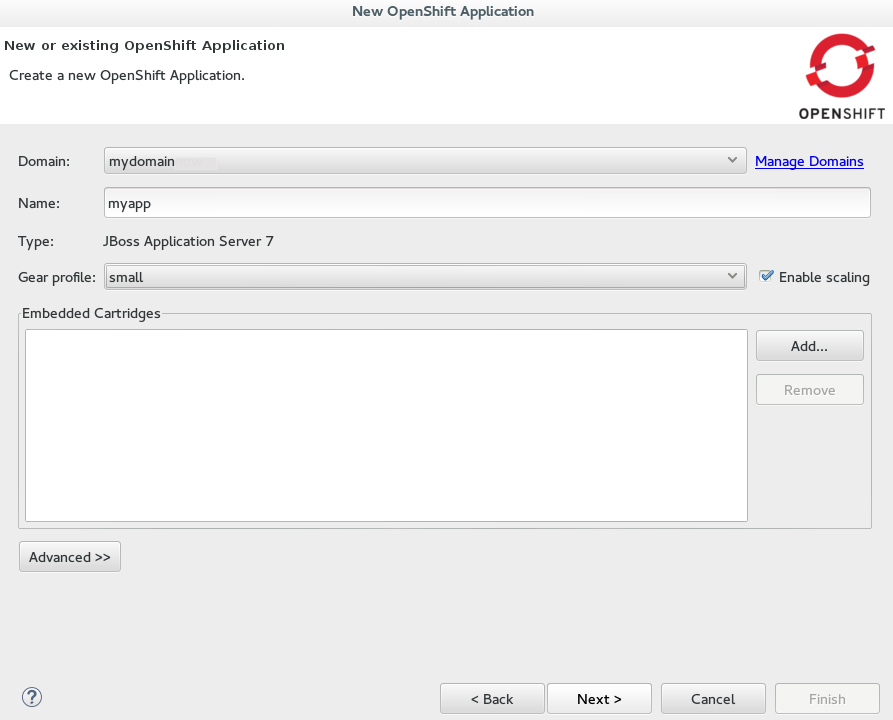 Figure 6. New OpenShift Application Information Provided
-
-
Click
Next.
Configure the Corresponding Workspace Project for the New Application
-
Complete the fields about the corresponding workspace project as follows:
-
Ensure the
Create a new projectcheck box is selected. -
Ensure the
Create and set up a server for easy publishingcheck box is selected. This automatically creates an OpenShift server adapter for the application, enabling you to easily publish project changes to the OpenShift server.
-
-
Click
Next. -
Ensure the location in the
Git Clone Destinationfield corresponds to where you want to make a local git repository for the project source code.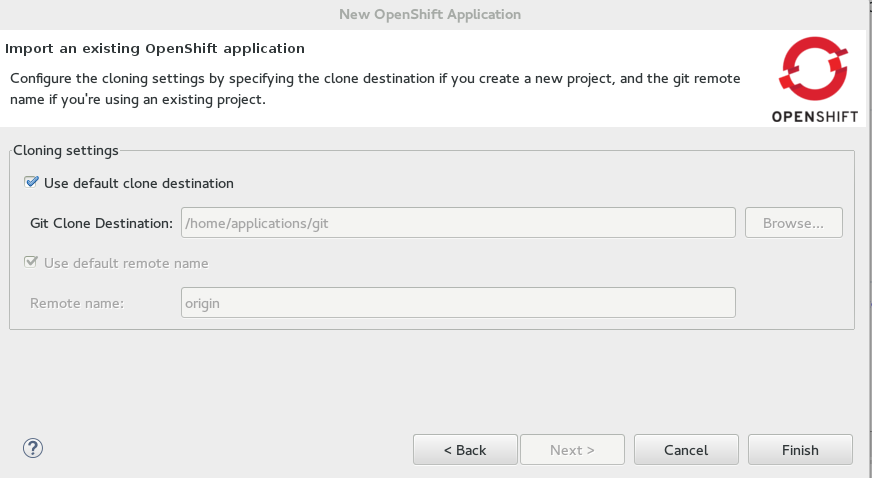 Figure 7. Git Clone Destination Specified
Create the OpenShift Online Application
-
Click
Finishfor the wizard to start generating the new OpenShift application. This process may take some time to complete. -
If you are prompted that the authenticity of the host cannot be established and asked whether you want to continue connecting, ensure that the host name matches that of your application and domain and click
Yes.
View the OpenShift Online Application
-
In the
OpenShift Explorerview, expand the connection and domain. -
Right-click
{application name}and click .
Your OpenShift Online application is displayed in the IDE default web browser.
Some OpenShift Terminology
-
Gear: A server container with a set of resources that allow you to run your application
-
Cartridge: Plug-ins that house the framework or components that can be used to create and run your application
-
Standalone cartridge: Languages and application servers that serve your application
-
Embedded cartridge: Functionality to enhance your application
-
-
Scaling: Enables your application to react to changes in traffic and automatically allocate the necessary resources to handle the current demand
Did You Know?
-
You can also start the
New OpenShift Applicationwizard from theOpenShift Explorerview by right-clicking a connection, domain or existing application and clicking or from the IDE main menus by clicking . -
To save time when logging in to OpenShift Online in future, you can click the
Save Passwordcheck box in theSign in to OpenShiftwindow. The password is retained in secure storage provided by the IDE and automatically populates thePasswordfield for the associated connection. -
Using the
New OpenShift Applicationwizard, you can also create a new OpenShift application from an existing workspace project or a Git source. -
Each time you start the IDE or switch workspaces the IDE is initially disconnected from OpenShift. When you attempt to complete an action that requires an active OpenShift connection, you are automatically prompted to reconnect.