Happy to announce 4.5.2.AM1 (Developer Milestone 1) build for Eclipse Oxygen.1a.
Downloads available at JBoss Tools 4.5.2 AM1.
What is New?
Full info is at this page. Some highlights are below.
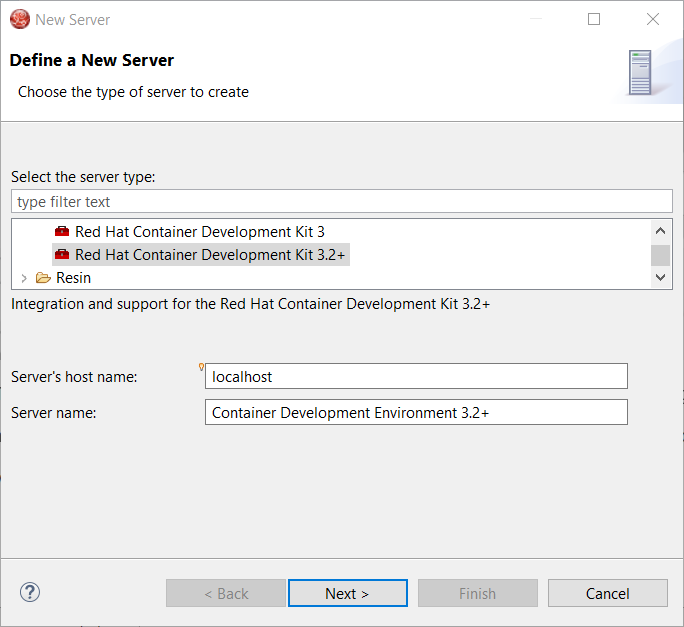
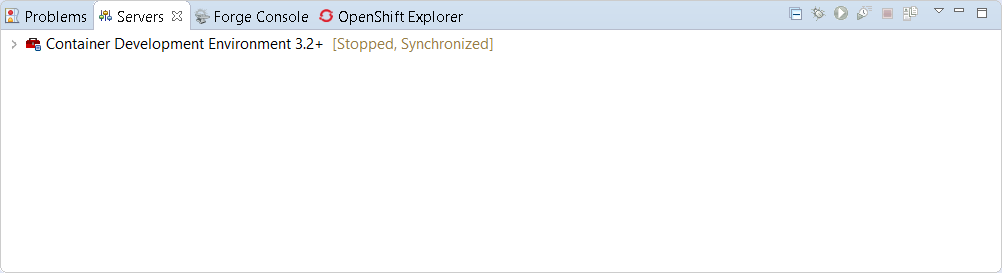
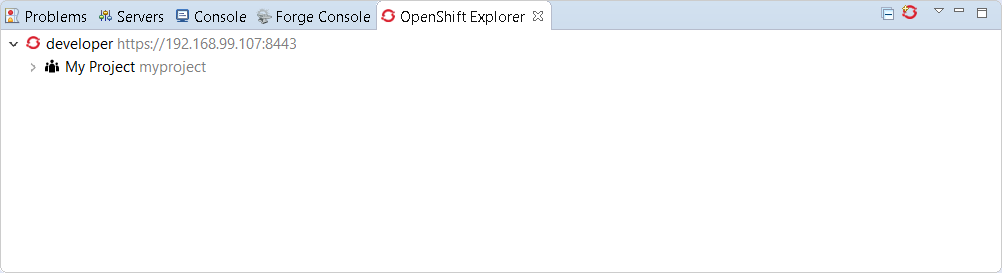
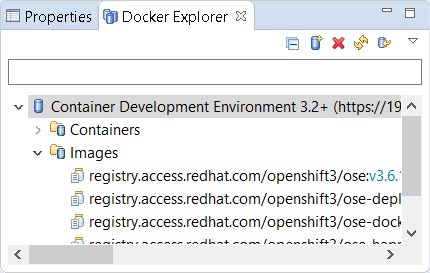
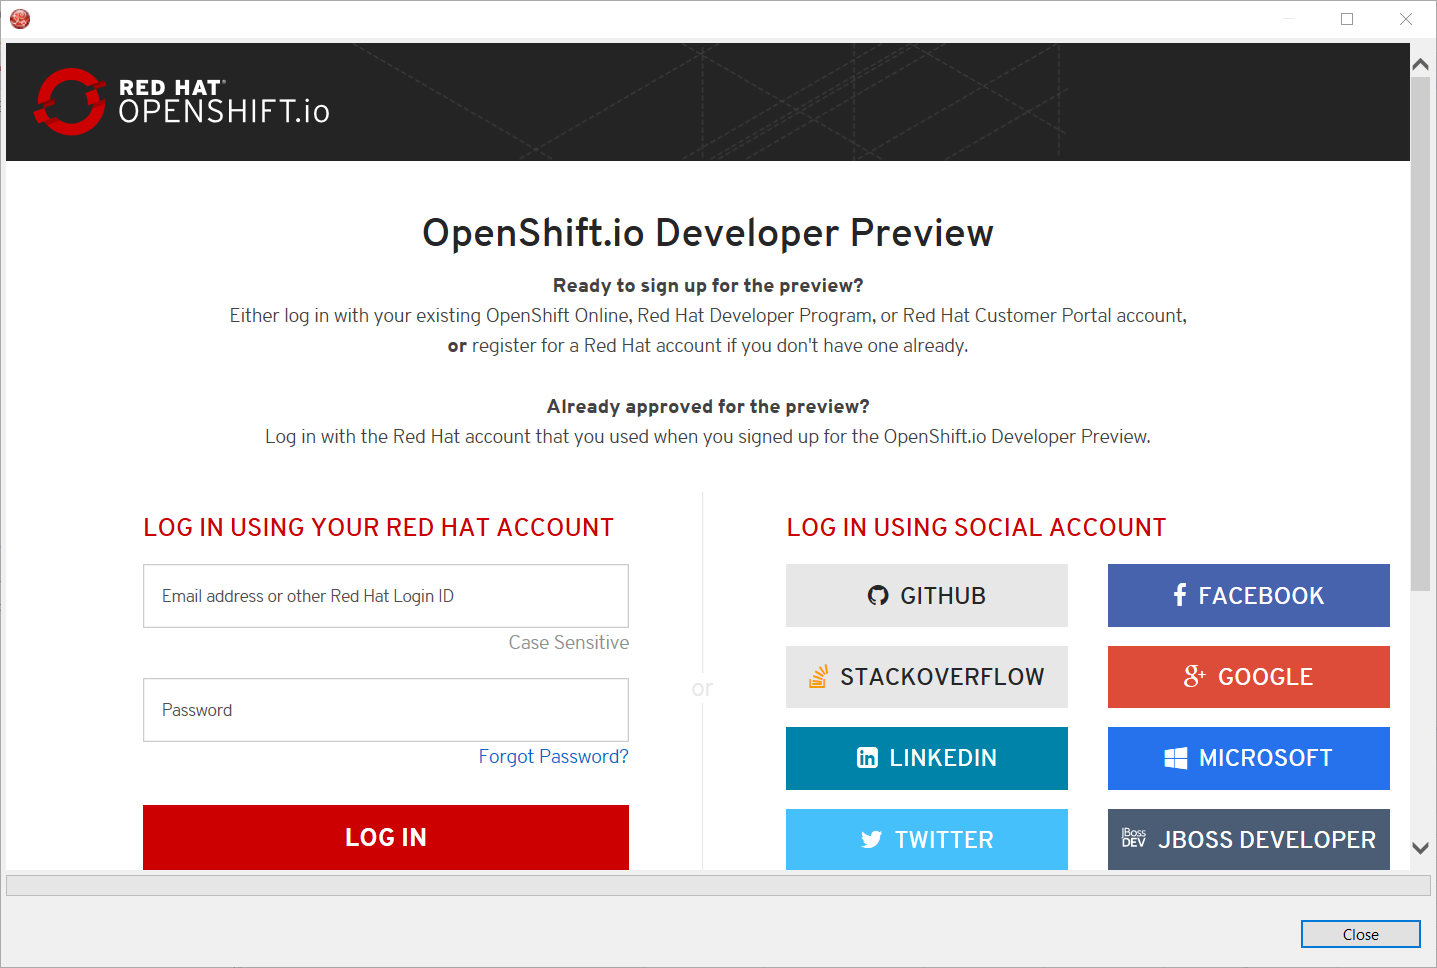
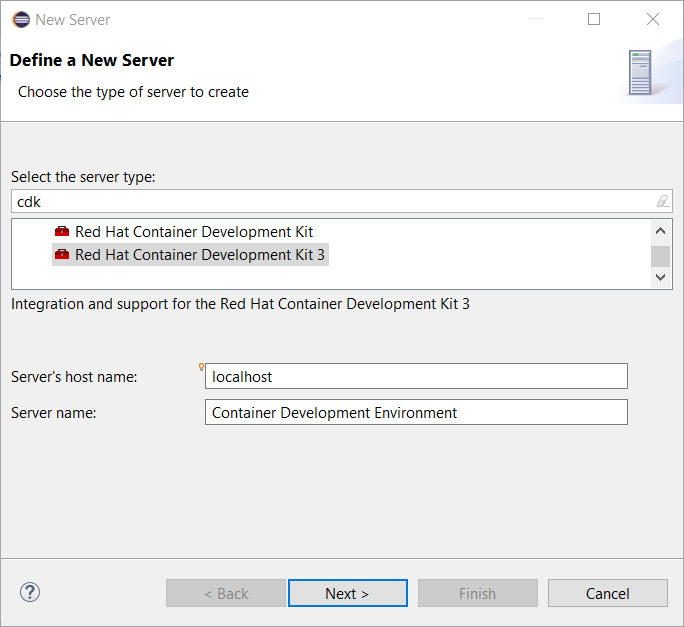
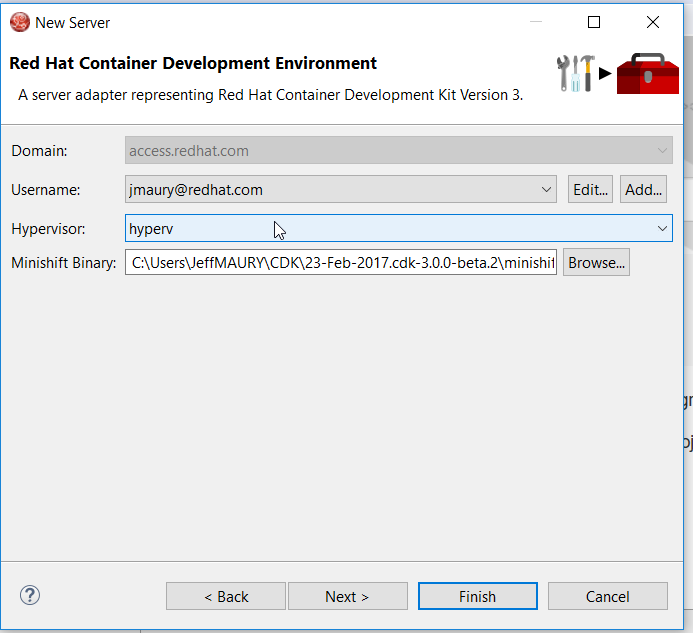
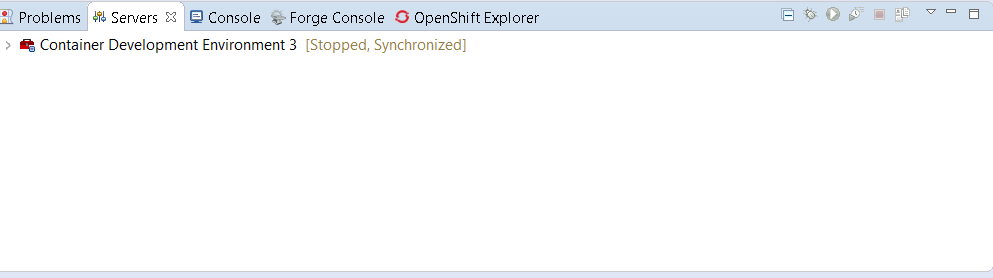
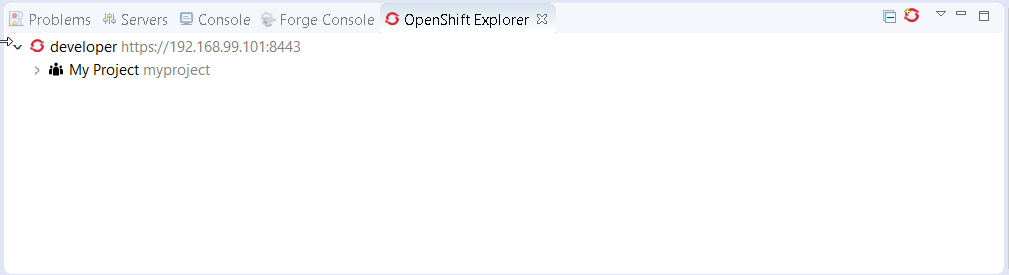
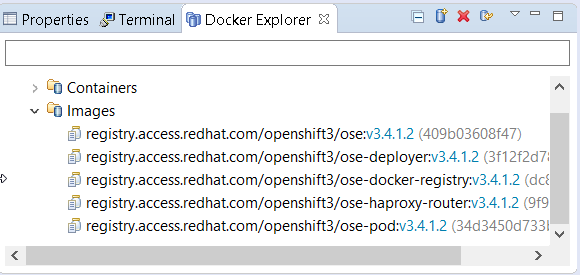
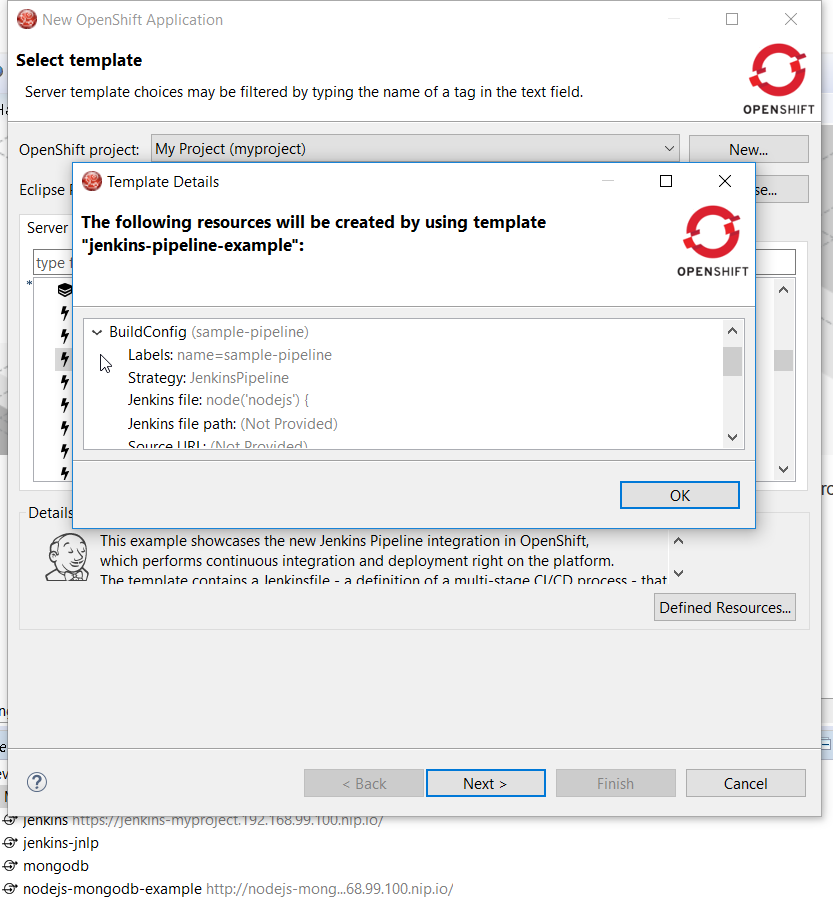
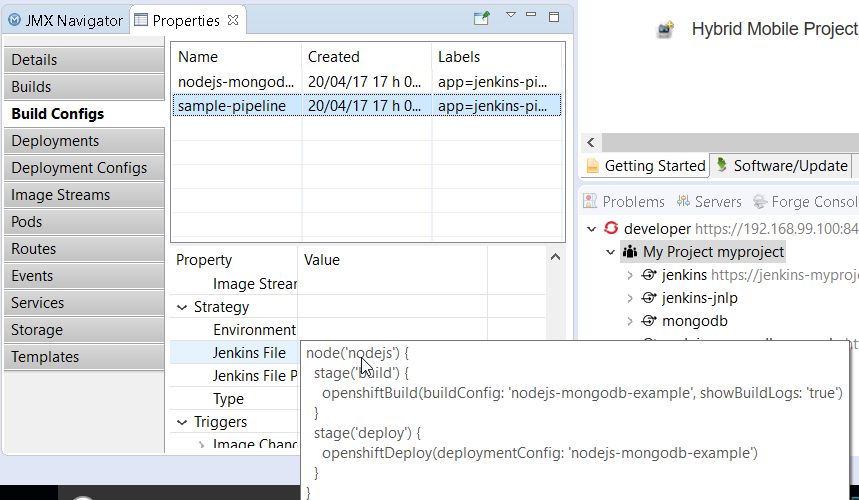
OpenShift
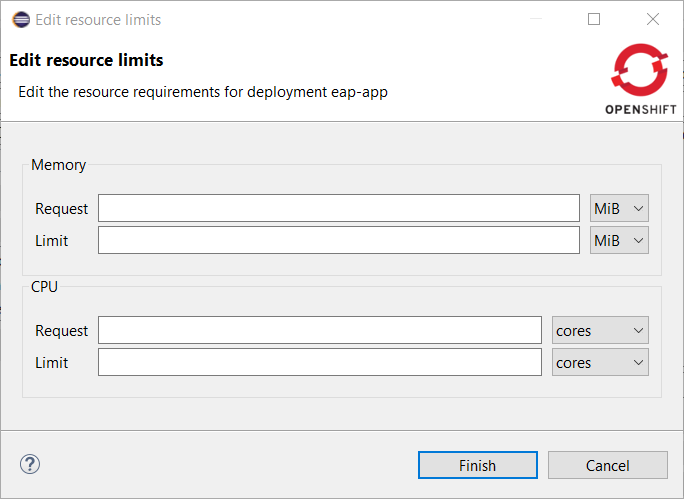
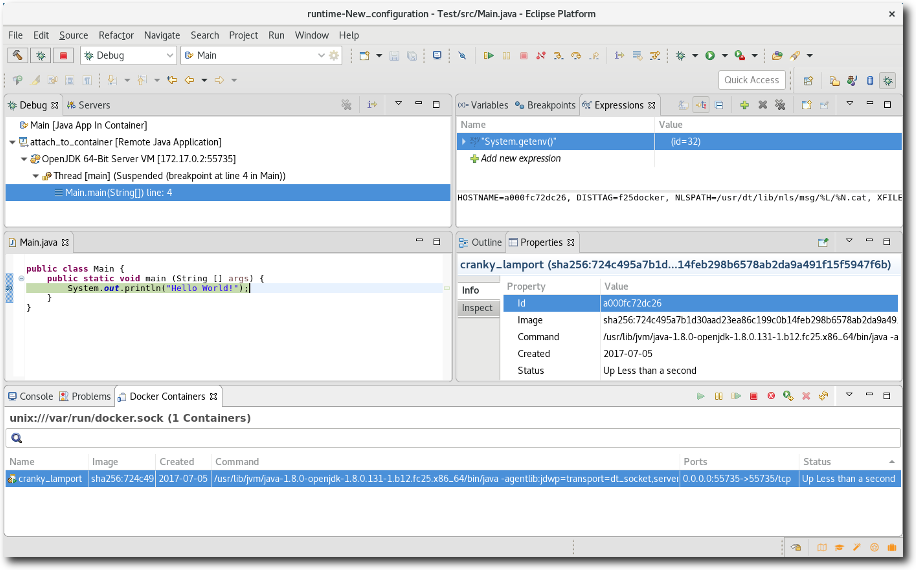
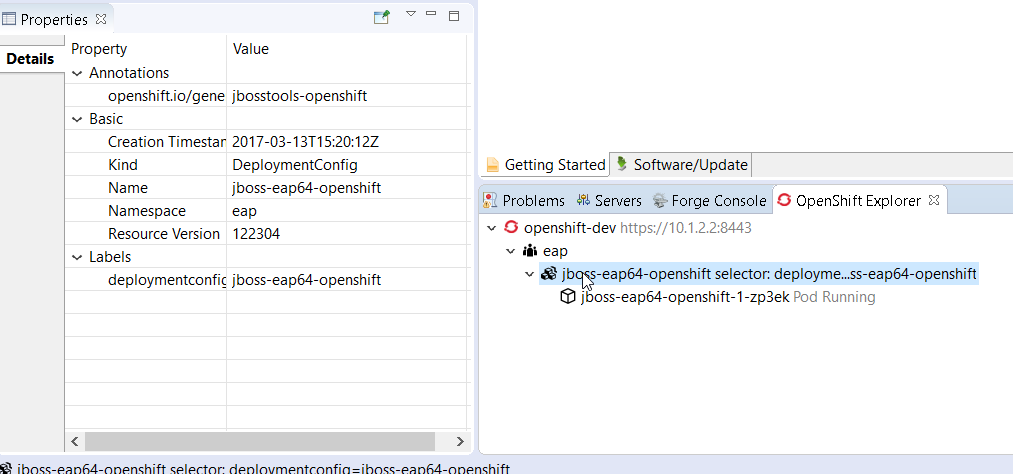
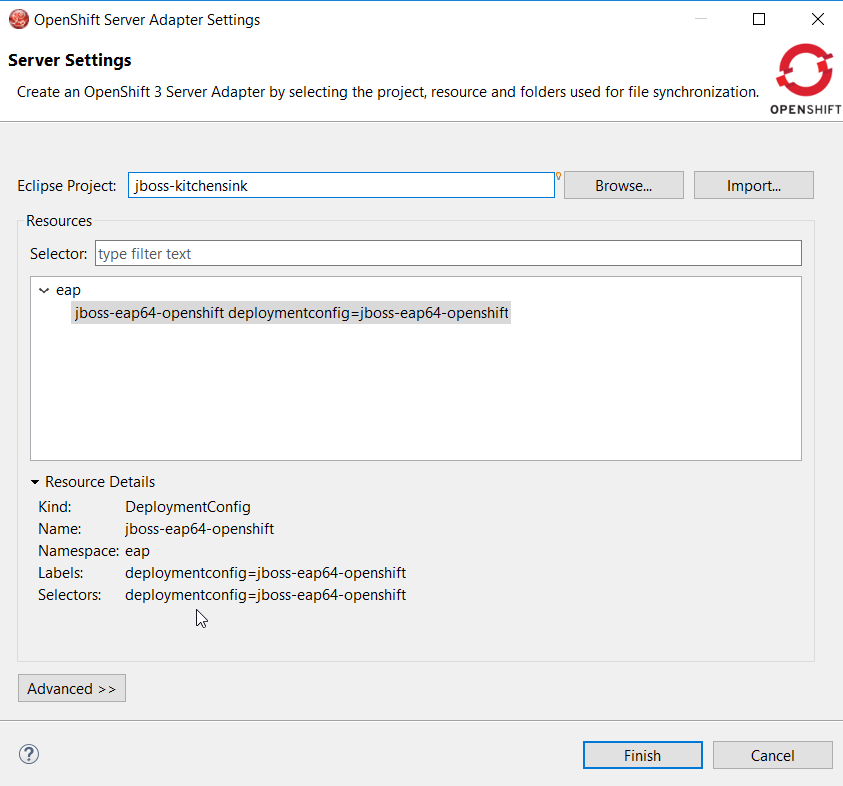
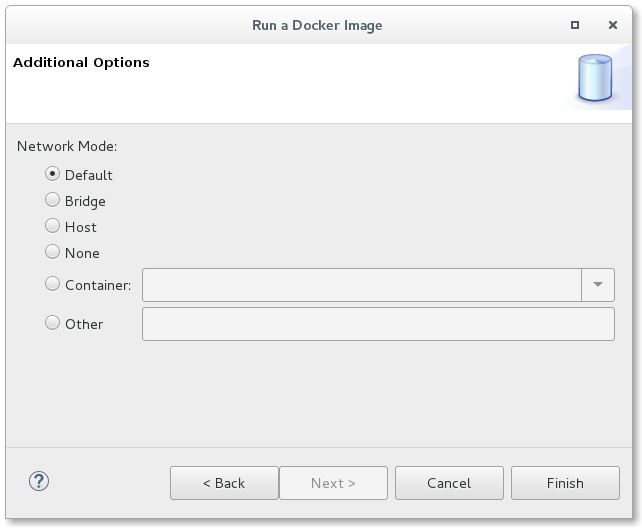
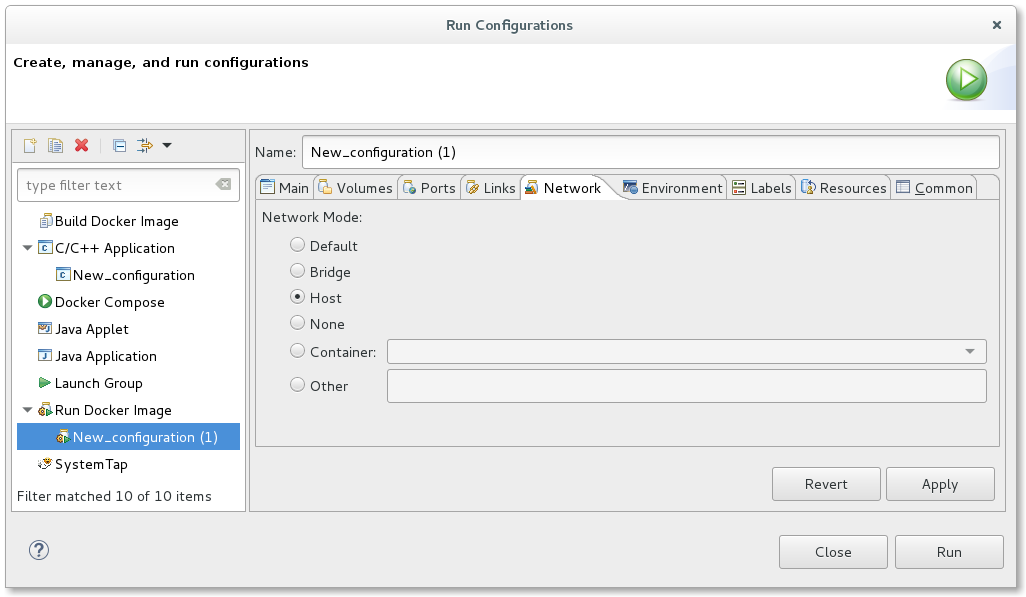
Support for route timeouts and liveness probe for OpenShift Server Adapter debugging configurations
While debugging your OpenShift deployment, you may face two different issues:
-
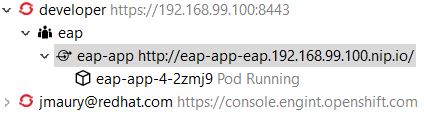
if you launch your test through a Web browser, then it’s likely that you will access your OpenShift deployment through an OpenShift route. The problem is that, by default, OpenShift routes have a 30 seconds timeout for each request. So if you’re stepping through one of your breakpoints, you will get a timeout error message in the browser window even if you can still debug your OpenShift deployment. And you’re now stuck will the navigation of your OpenShift application.
-
if your OpenShift deployment has a liveness probe configured, depending on your virtual machine capabilities or how your debugger is configured, if your stepping into one of your breakpoints, the liveness probe may fail thus OpenShift so OpenShift will restart your container and your debugging session will be destroyed.
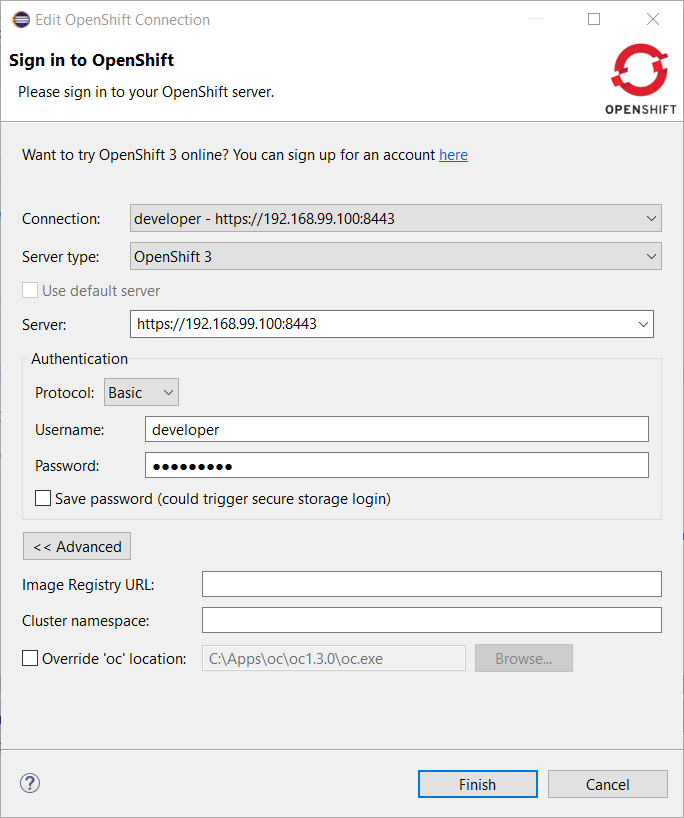
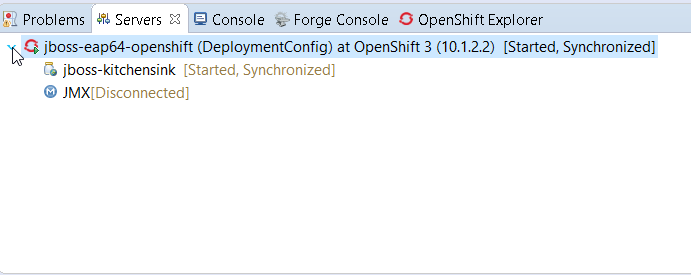
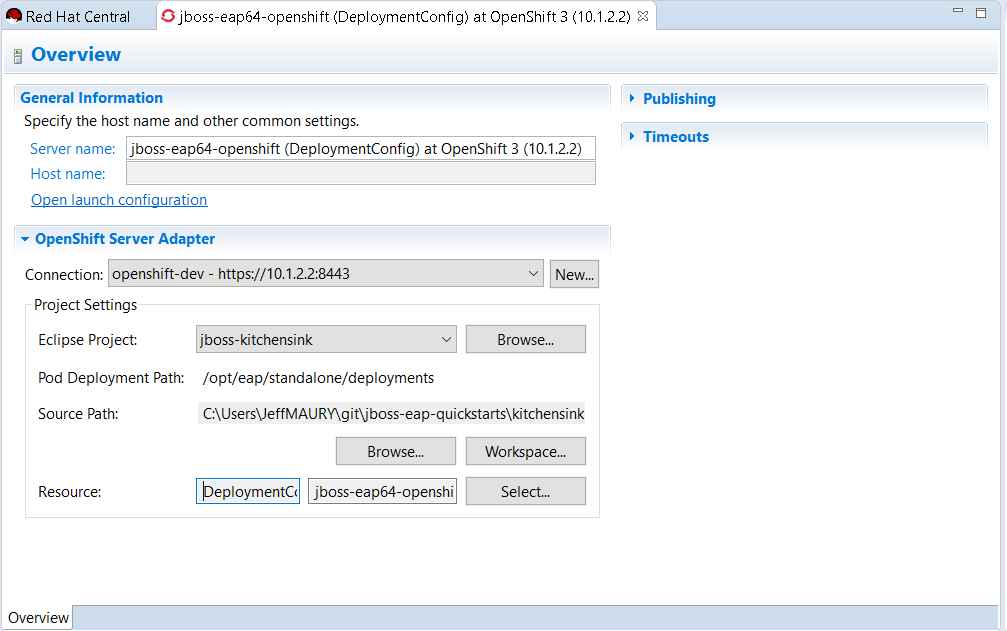
So, from now, when the OpenShift server adapter is started in debug mode, the following action are being performed:
-
if an OpenShift route is found that is linked to the OpenShift deployment you want to debug, the route timeout will be set or increased to 1 hour. The original or default value will be restored when the OpenShift server adapter will be restarted in
runmode. -
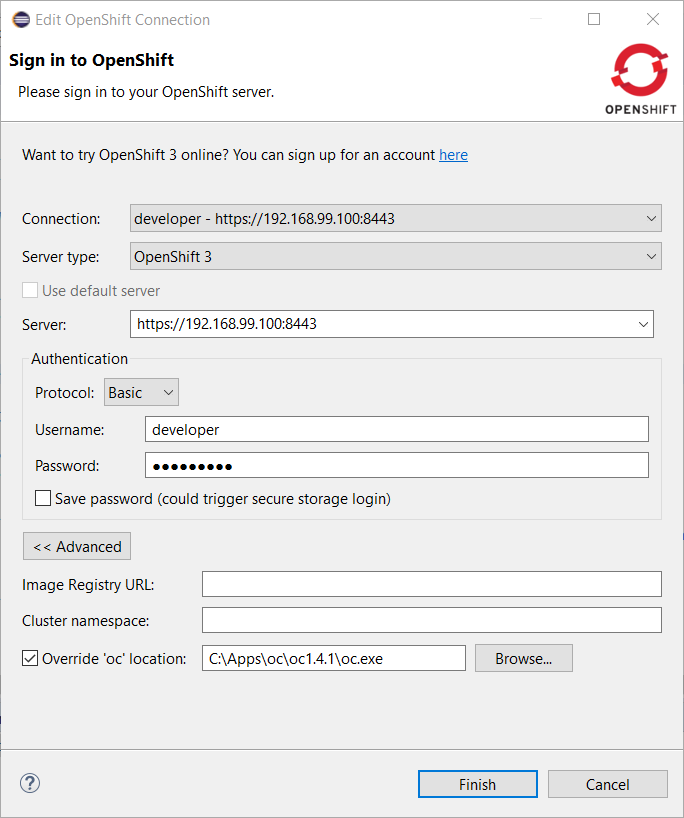
if your OpenShift deployment has a liveness probe configured, the
initialDelayfield will be increased to 1 hour if the defined value for this field is lower than 1 hour. If the value of this field is defined to a value greater than 1 hour, it is left intact. The original value will be restored when the OpenShift server adapter will be restarted inrunmode
Fuse Tooling
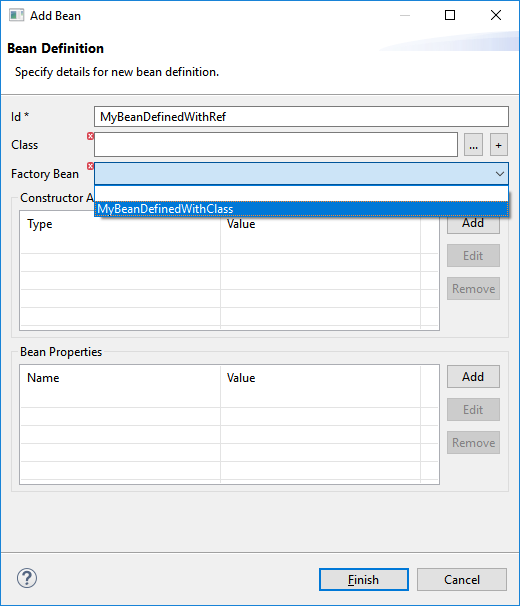
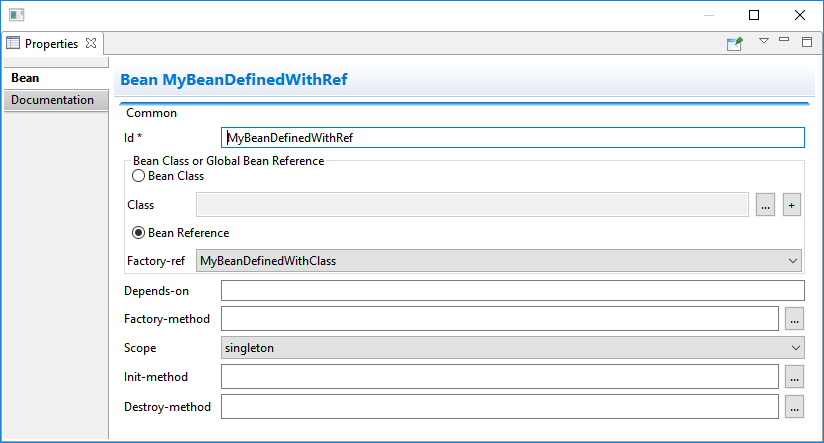
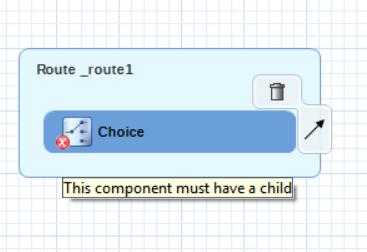
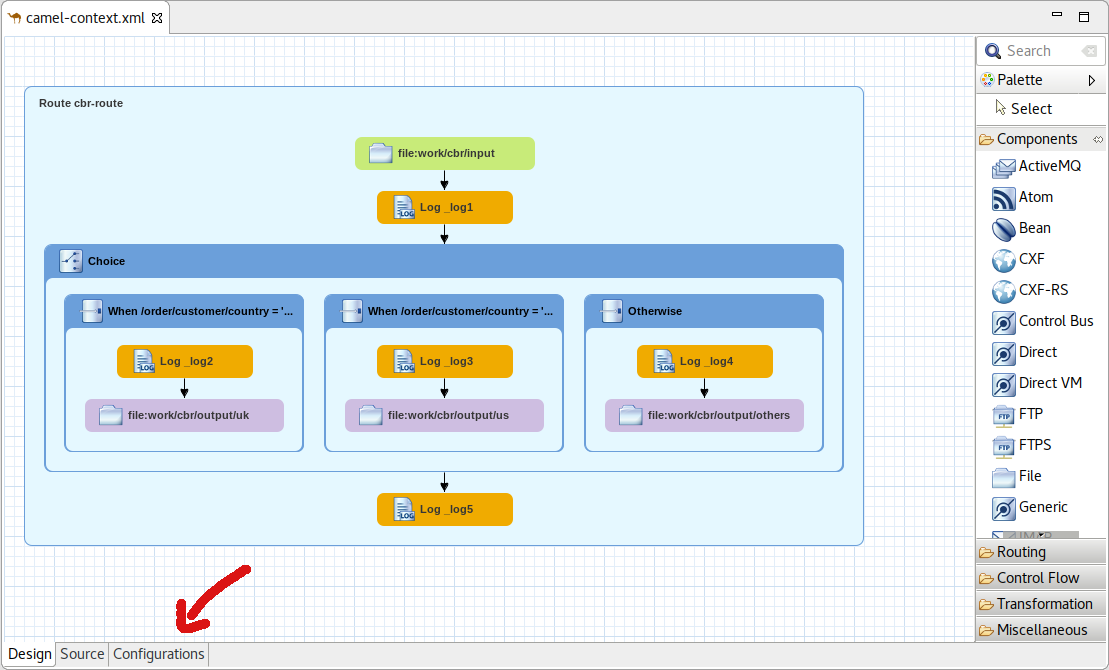
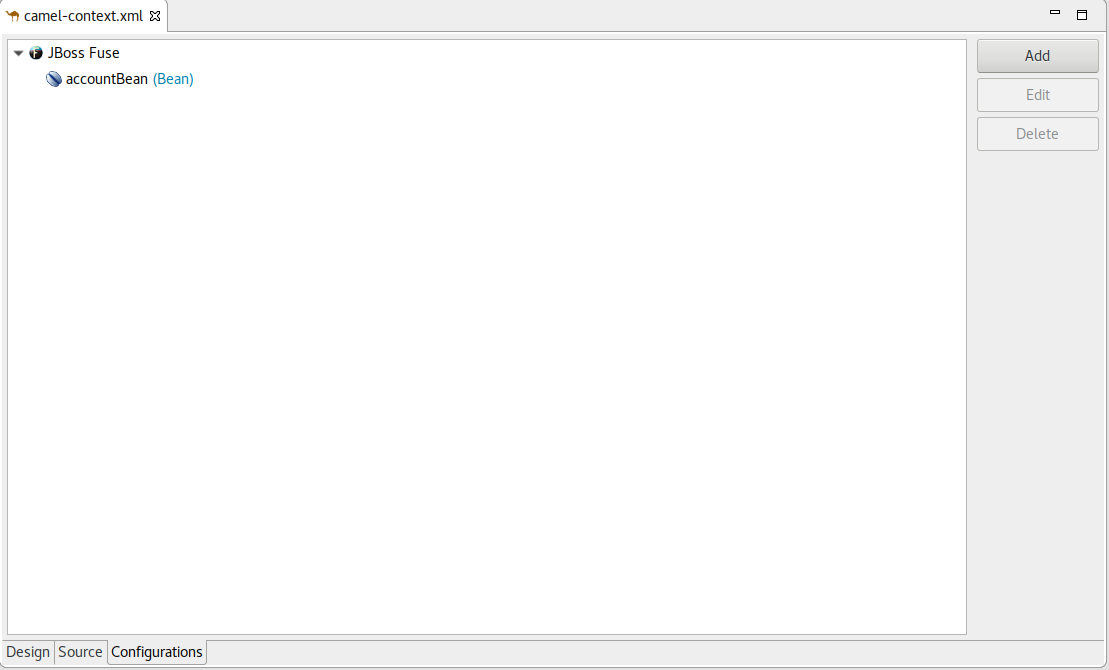
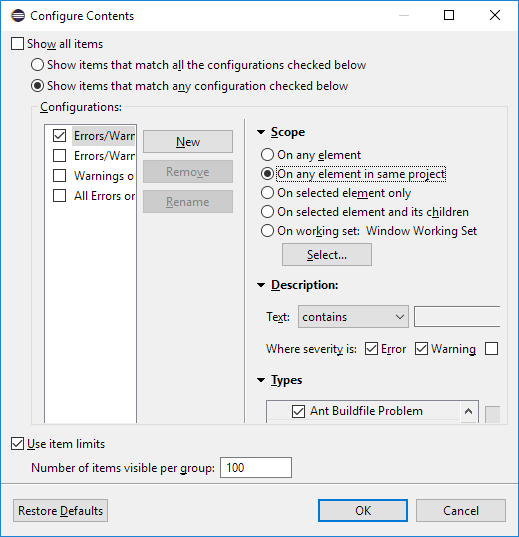
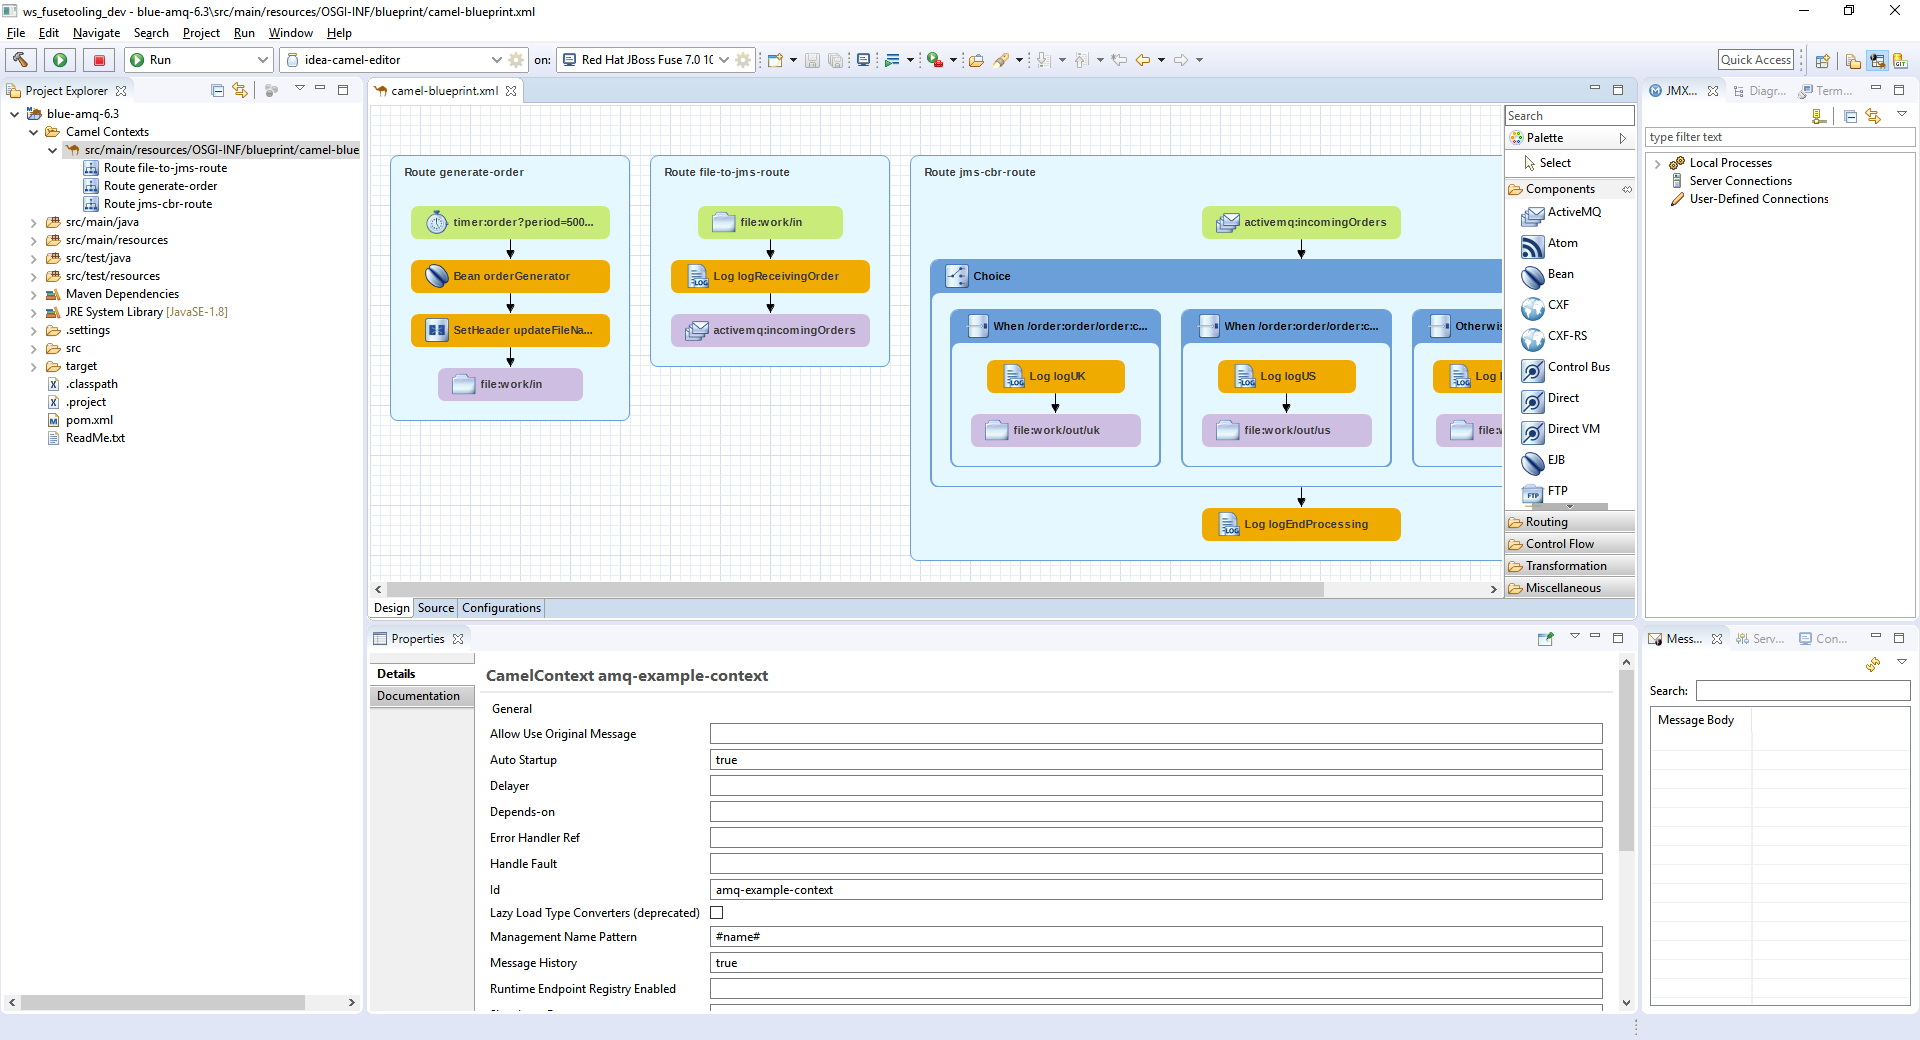
Camel context parameters configurable in properties view for Camel version < 2.18
Before Camel 2.18, the Camel catalog is missing information about Camel Context. Fuse Tooling is now providing this missing piece of information and thus allow to edit Camel Context parameters in Properties view like for any other component. It is activated when there is no element selected on the diagram.
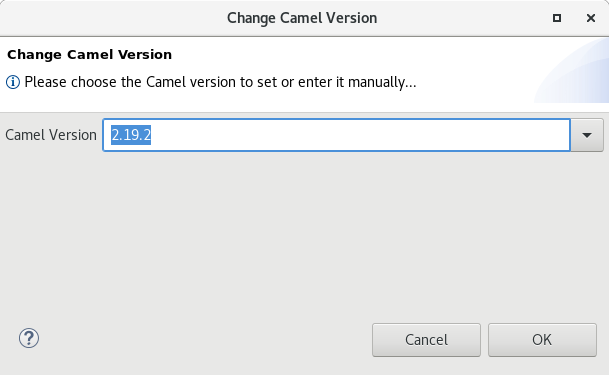
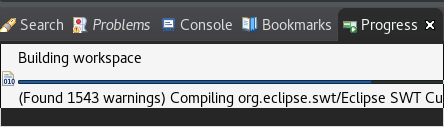
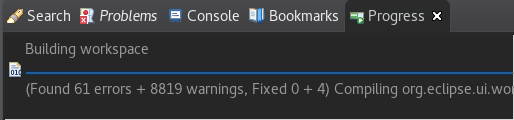
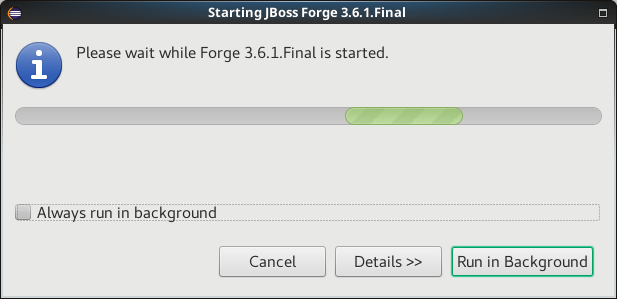
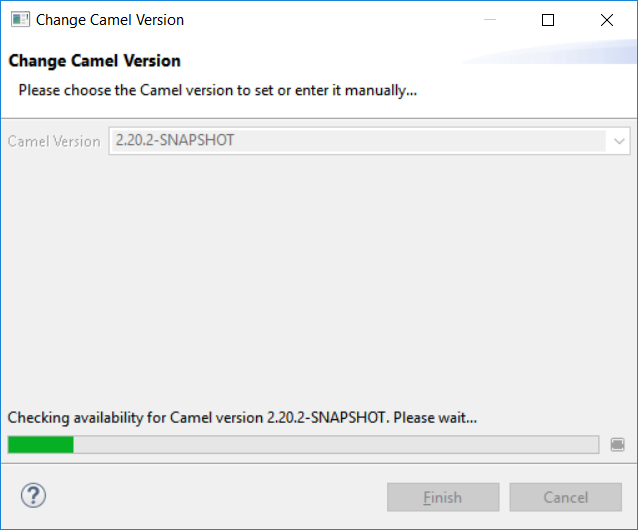
Usability improvement: Progress bar when "Changing the Camel version"
Since Fuse Tooling 10.1.0, it is possible to change the Camel version. In case the Camel version was not cached locally yet and for slow internet connections, this operation can take a while. There is now a progress bar to see the progress.
Enjoy!
Jeff Maury