We would like to announce Red Hat JBoss Developer Studio 8.1.0 CR1 and JBoss Tools 4.2.3 CR1 is now available.
Installation
Red Hat JBoss Developer Studio comes with everything pre-bundled in its installer. Simply download it and install it like this:
java -jar jboss-devstudio-{version}-installer-{standalone|eap}.jar
JBoss Tools or JBoss Developer Studio Bring-Your-Own-Eclipse (BYOE) requires a bit more:
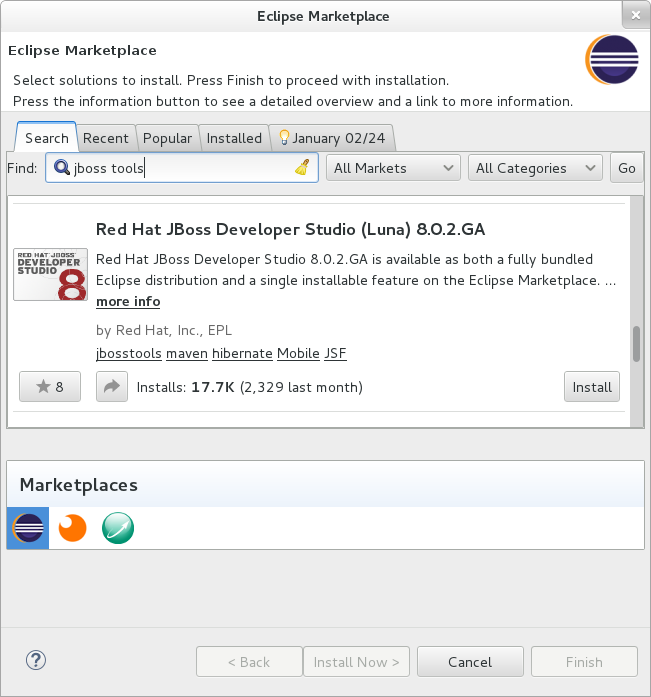
This release requires at least Eclipse 4.4 (Luna) but we recommend using the Eclipse Luna SR2 Java EE Bundle since then you get most of the dependencies preinstalled with Java EE Bundle and SR2 release includes some critical fixes.
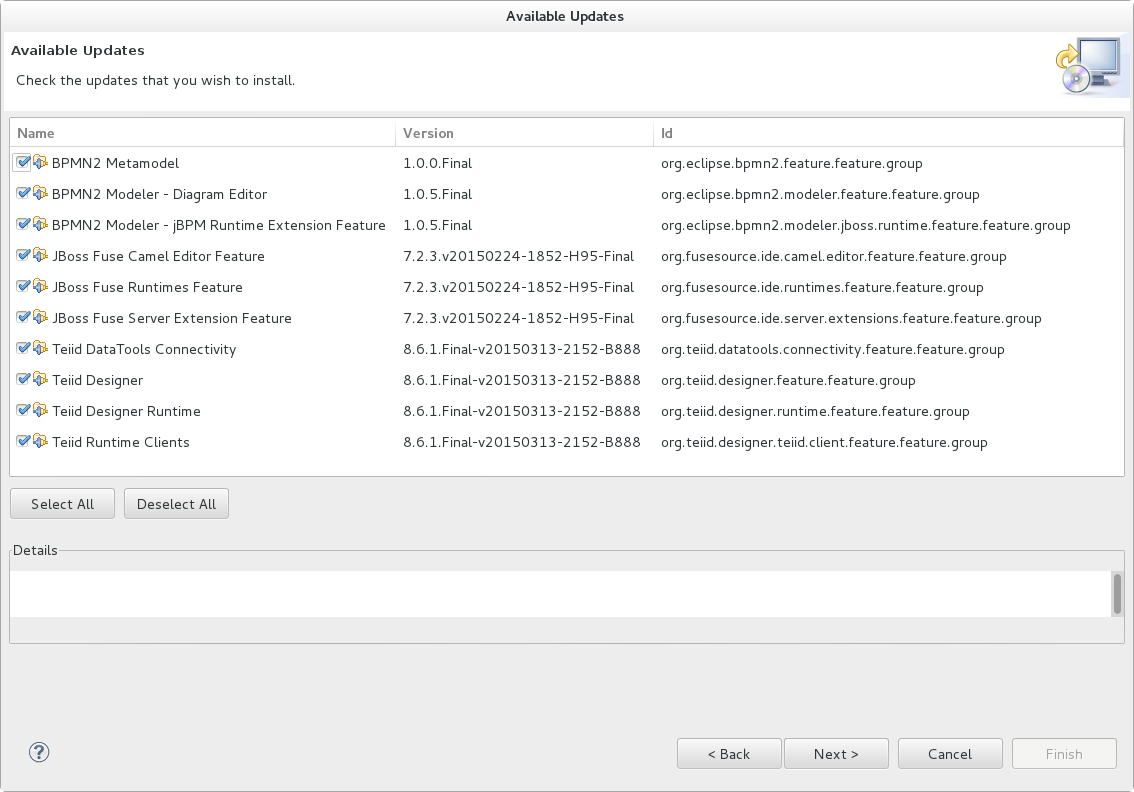
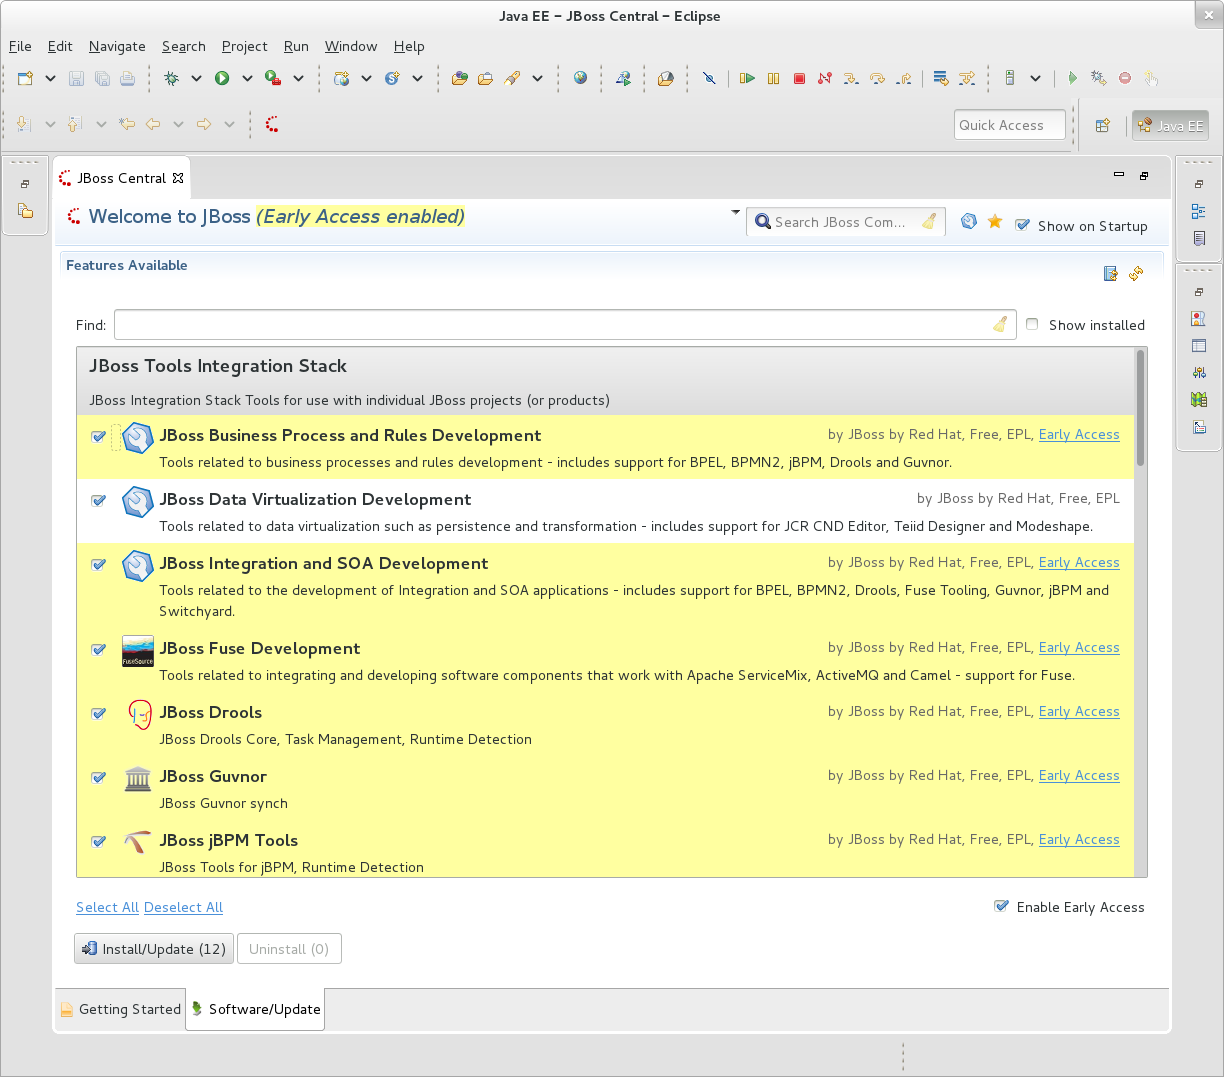
Once you have installed or if you have JBoss Tools 4.2.x already installed, you can use our update site directly for JBoss Tools:
http://download.jboss.org/jbosstools/updates/development/luna/
And for JBoss Developer Studio Bring-Your-Own-Eclipse:
https://devstudio.redhat.com/updates/8.0-development/
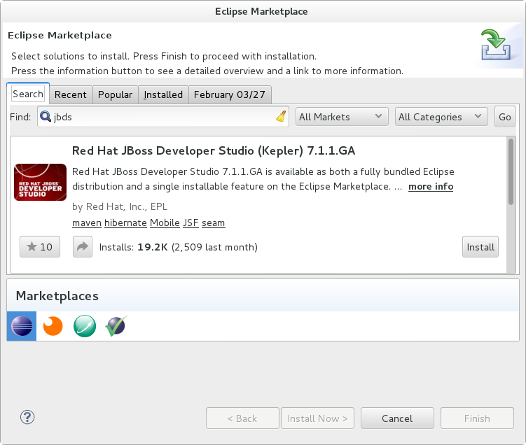
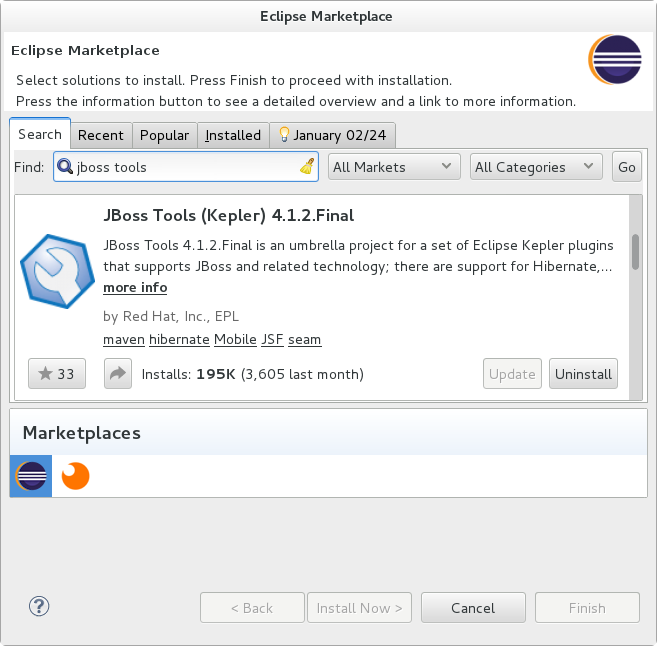
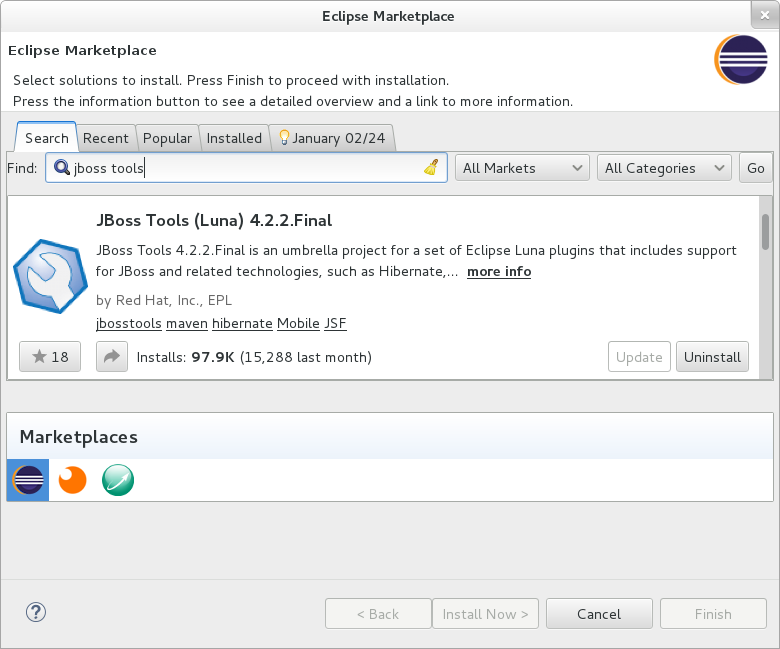
Note: JBoss Tools 4.2.3 and JBoss Developer Studio 8.1.0 will become available in Marketplace only for Final releases at early April
What is New?
We are getting close to the final release. So, we focused on bug fixing in this release.
Upgraded Forge 2 Runtime
Besides bug fixes, the Forge 2 runtime was upgraded to 2.15.1.Final. See the release notes here.
There is also an improvement in Forge wizards which now render notes below the inputs (where available):
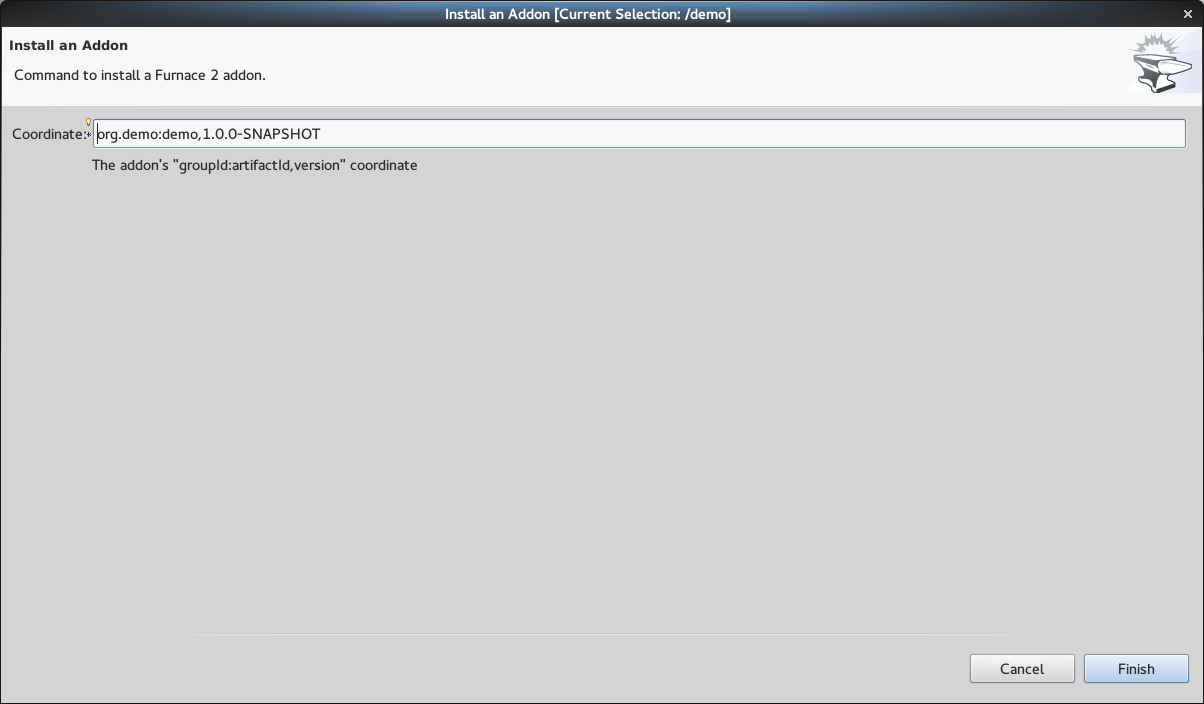
It’s worth mentioning that the Forge 2.15.1 release has an annoying bug which prevents addons creation. The upcoming JBoss Developer Studio 8.1.0.Final will include the fixed Forge 2.15.2.Final (has been released today).